Understanding the Timeline for Bathroom Resurfacing Projects
When considering bathroom and kitchen resurfacing, understanding the timeline and process is crucial. Factors like the Master Builders Association guidelines and the types of materials, such as porcelain tile, play significant roles in determining the duration of your project. You also need to consider the involvement of professionals like electricians to ensure everything is functional and up to code. Time management can greatly affect your return on investment, making it imperative to have a clear picture of what to expect. Keep reading to learn about the essential steps before you start, the typical timeline for resurfacing projects, and how to prepare for any unexpected delays.
Key Takeaways
- Assess your bathroom‘s condition and address any issues before resurfacing begins
- Choose high-quality resurfacing materials for durability and long-lasting aesthetics
- Consider your bathroom‘s design and functionality to ensure a successful remodel
- Understand the timeline and potential delays to set realistic expectations for your project
- Communicate consistently with your renovation team to stay informed throughout the process
Key Steps Before Starting Your Bathroom Resurfacing

Before diving into your bathroom and kitchen resurfacing project, it’s crucial to take some key steps that can significantly influence the overall outcome. Start by evaluating the current state of your bathroom, checking for issues like mold that could complicate the resurfacing process. Understanding whether you have a cast iron or a wood structure will guide your material decisions, helping you avoid unnecessary expenses. Next, selecting the right resurfacing materials is essential; consider how they will hold up against dust and moisture over time. Finally, focus on finalizing your resurfacing design, as a well-thought-out plan ensures the transformation aligns with your vision and functional needs.
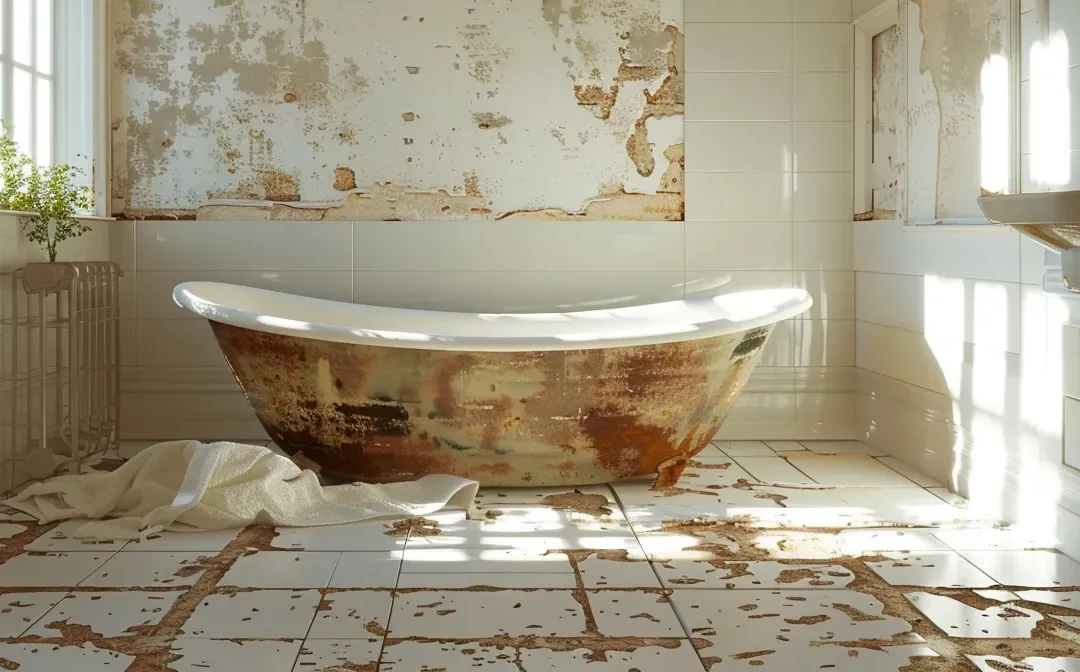
1. Evaluating the Bathroom‘s Current State
Before beginning your bathroom and kitchen resurfacing project, take time to thoroughly evaluate the bathroom’s current state. Check for any signs of damage, such as cracked grout or faulty plumbing fixtures, as unresolved issues can lead to complications during the remodeling process. If you have a hot tub, ensure its condition aligns with your resurfacing goals, and be prepared to address any necessary repairs in your contract with the renovation team. It’s always good to hire professionals affiliated with the Master Builders Association for quality assurance.
2. Choosing the Right Resurfacing Materials
Choosing the right resurfacing materials is a vital step that can significantly impact your bathroom‘s durability and appearance. Opting for quartz, known for its resistance to water damage, can sweeten your investment by providing a long-lasting and beautiful surface. In New Jersey, where home improvement projects thrive, selecting quality materials ensures you not only enhance the aesthetics but also protect your space from future wear and tear.
3. Finalizing Your Resurfacing Design
As you finalize your resurfacing design, consider how the layout and materials will align with your property’s overall aesthetic and practical needs. Engaging in thoughtful planning will enable you to effectively manage the shower remodel cost, ensuring you achieve your desired look without overspending. If you are a landlord, prioritizing both functionality and appeal can significantly enhance tenant satisfaction, making your bathroom remodel a worthwhile investment.
Once you’ve outlined the key steps for your bathroom resurfacing project, it’s time to focus on the timeline. Understanding how long the resurfacing process takes is crucial for planning and anticipation of your stunning transformation.
Understanding How Long Bathroom Resurfacing Takes
Understanding the timeframe for bathroom resurfacing projects is essential to set realistic expectations for your renovation. On average, most resurfacing tasks, including work on your bathtub, can take anywhere from a few days to a week, depending on the scope of the project. Several factors influence this timeline, such as the condition of existing surfaces, potential encounters with mildew, and any necessary upgrades to electrical wiring or plumbing. If your project evolves into a full bathroom renovation, the duration may extend significantly. Being aware of these elements will help you plan accordingly and ensure a smoother renovation experience.
Average Timeframe for Bathroom Resurfacing
The average timeframe for a bathroom resurfacing project often hinges on various factors, including the condition of existing cabinetry and the complexity of the shower area. If your project involves several elements of construction, such as upgrading fixtures or integrating new interior design concepts, this can extend the overall timeline. Therefore, being clear about your goals and communicating with your renovation team will help ensure that your bathroom remodeling project proceeds smoothly and stays on track.
Factors That Can Affect the Resurfacing Timeline
Several factors can influence the timeline of your bathroom resurfacing project. The condition of existing materials, such as tile or fiberglass, often plays a crucial role; damaged surfaces may require additional prep work before refinishing can begin. Additionally, if you’re working with a real estate agent to enhance your property‘s value, their insights on effective updates can help you focus on necessary renovations that stay within your project’s timeframe.
Each room‘s unique characteristics will also affect the resurfacing timeline; for example, if the bathtub refinishing involves complex plumbing adjustments, this may extend the duration of your project. Planning ahead and anticipating these challenges can help you manage expectations and keep your renovation on track.
Now that you have a clear idea of the timeframe involved, it’s time to dive into the resurfacing process itself. Get ready to learn what you can expect as your bathroom transforms before your eyes.
What to Expect During the Resurfacing Process
As you prepare for a bathroom resurfacing project, it’s beneficial to understand what the process entails day by day. Knowing the steps involved in a full bathroom remodel will help you set realistic expectations and stay organized throughout the complete bathroom renovation. Each phase will require your attention, from assessment and preparation to the finishing touches. Keep a towel handy, as surfaces may be damp during certain stages. This understanding will empower you to manage your time effectively and ensure a smoother transition back to your refreshed space.
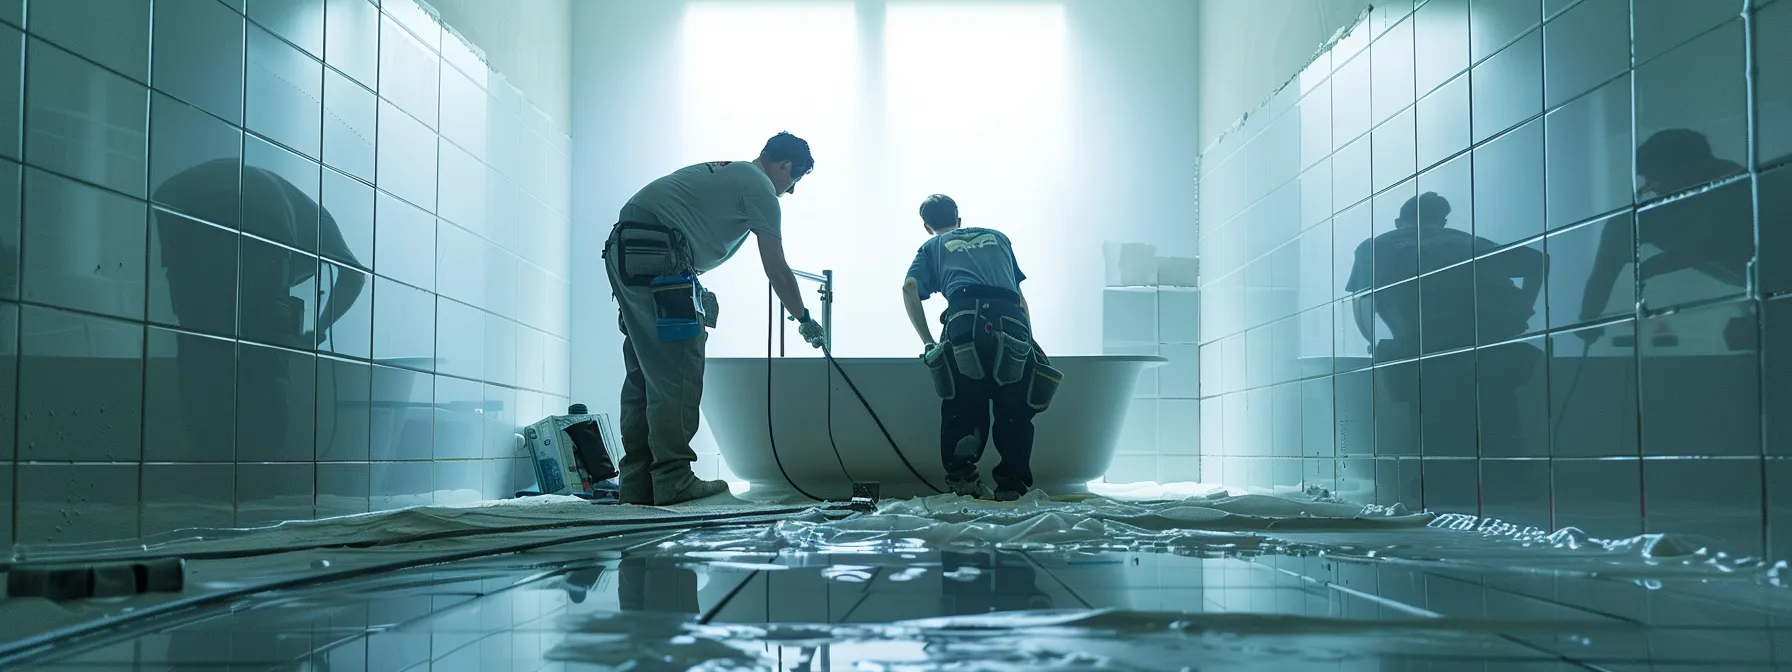
Day-by-Day Breakdown of Bathroom Resurfacing
During the resurfacing process, each day will lead you through critical stages that require your attention. Initially, you might see your bathroom stripped down, revealing underlying structures, which can ignite interest in how the new marble surfaces will transform the space. As work progresses, it’s essential to maintain communication with your renovation team, especially if your bathroom is located in a basement where moisture levels may affect the resurfacing process.
You’ve witnessed the transformation during the resurfacing process, and the results are just the beginning. Get ready to explore what happens next and how to maintain your stunning new spaces!
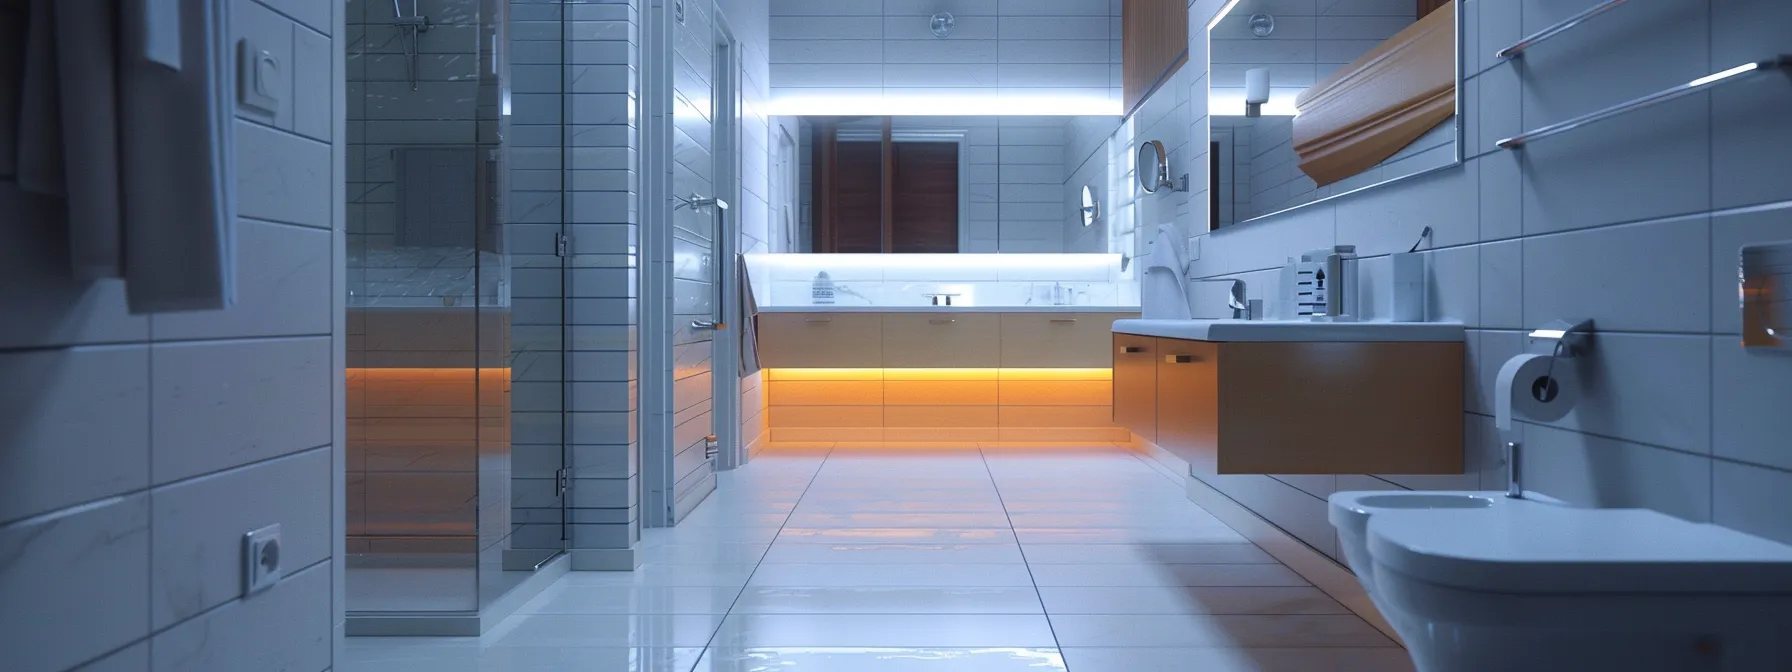
Post-Resurfacing: What Comes After?

After completing your bathroom resurfacing project, it’s vital to understand the next steps to ensure a seamless transition back to using your space. Curing time plays a crucial role in this phase, impacting not only the durability of the finishes but also when you can comfortably return to your bathroom. As you await the final touches—like adding a grab bar or painting the ceiling—you should remain informed about the timeline and the complexity of the tasks ahead. Planning ahead allows you to coordinate with your bedroom layout or any adjacent areas, ensuring everything flows smoothly once you are ready to enjoy your refreshed bathroom.
Curing Time and Final Touches
After completing your bathroom resurfacing project, pay close attention to the curing time required for materials like porcelain to reach their optimal durability. It’s essential to avoid any interactions with installed features, such as light fixtures or pipes, until this process is fully complete to prevent issues like lead poisoning from subpar finishes. Once the surfaces are adequately cured, you can focus on adding the final touches that will enhance your space, ensuring that everything is functional and stylish, as highlighted on platforms like HomeAdvisor.
When You Can Use Your Bathroom Again
Once your bathroom resurfacing project wraps up, you’ll want to know when you can comfortably return to using your space. Typically, the average waiting period before using the sink and other fixtures is about 24 to 48 hours, allowing materials ample time to cure. Make sure to establish communication with your contractor or subcontractor to confirm this timeframe, so your restoration meets safety standards, especially regarding any run of duct work related to ventilation.
You’re on the brink of enjoying your newly resurfaced space, but the journey isn’t over yet. Preparing for potential delays can safeguard your project and ensure everything runs smoothly.
Planning for Unexpected Delays in Resurfacing Projects

In any bathroom resurfacing project, being prepared for potential delays can save you significant time and frustration. Common causes of delays include issues with materials, such as granite or plaster, which may not be readily available or require additional preparation. Problems with lighting fixtures or plumbing components can also slow progress. Working closely with a bathroom remodeling contractor can help you identify these challenges early on, allowing for proactive solutions. By anticipating these obstacles, you can streamline your project timeline and ensure a smoother renovation experience.
Common Causes of Delays and How to Mitigate Them
Common delays in bathroom resurfacing projects can arise from supply chain issues that lead to the unavailability of essential materials. If bathroom remodelers encounter difficulties sourcing items like tiles or fixtures, it can stall progress, pushing your project timeline back. To mitigate these risks, establish a reliable communication channel with your team to regularly check on material statuses and adapt your plans accordingly.
Additionally, when working on surfaces such as walls and floors, the chance of encountering unexpected repairs might arise, which can delay completion. Make sure to ask about the warranty options for the materials and work performed to safeguard your investment. Understanding the entire scope of the project from the outset helps in planning for these possibilities:
- Identify potential supply chain delays early in the project.
- Communicate consistently with your bathroom remodelers regarding material availability.
- Prepare for possible repairs on walls and floors before starting work.
Unexpected delays can pose challenges, but with the right strategies in place, you can navigate them effectively. Let’s explore some tips to streamline your bathroom resurfacing timeline and ensure a more efficient process.
Tips for a Smoother Bathroom Resurfacing Timeline
Effective scheduling of contractors is essential to streamline the resurfacing process and avoid unnecessary delays. Begin with thorough research to find a reputable general contractor who understands your project needs, particularly regarding complex countertop installations. Preparing your home is equally important; ensure proper ventilation to manage any unpleasant odors, such as those that might arise from materials containing dichloromethane. Taking these proactive steps will help pave the way for an efficient and successful bathroom resurfacing project.
How to Efficiently Schedule Contractors
To efficiently schedule contractors for your primary bathroom remodel, start by prioritizing clear communication about your project’s needs and timelines. Ensure your contractors understand the specific materials you plan to use, like ceramic tiles, as well as any considerations regarding isocyanate-based products that may require additional precautions during installation. Furthermore, maintain a well-ventilated work environment to help manage any fumes generated during resurfacing, keeping both the team and your home safe and comfortable throughout the process.
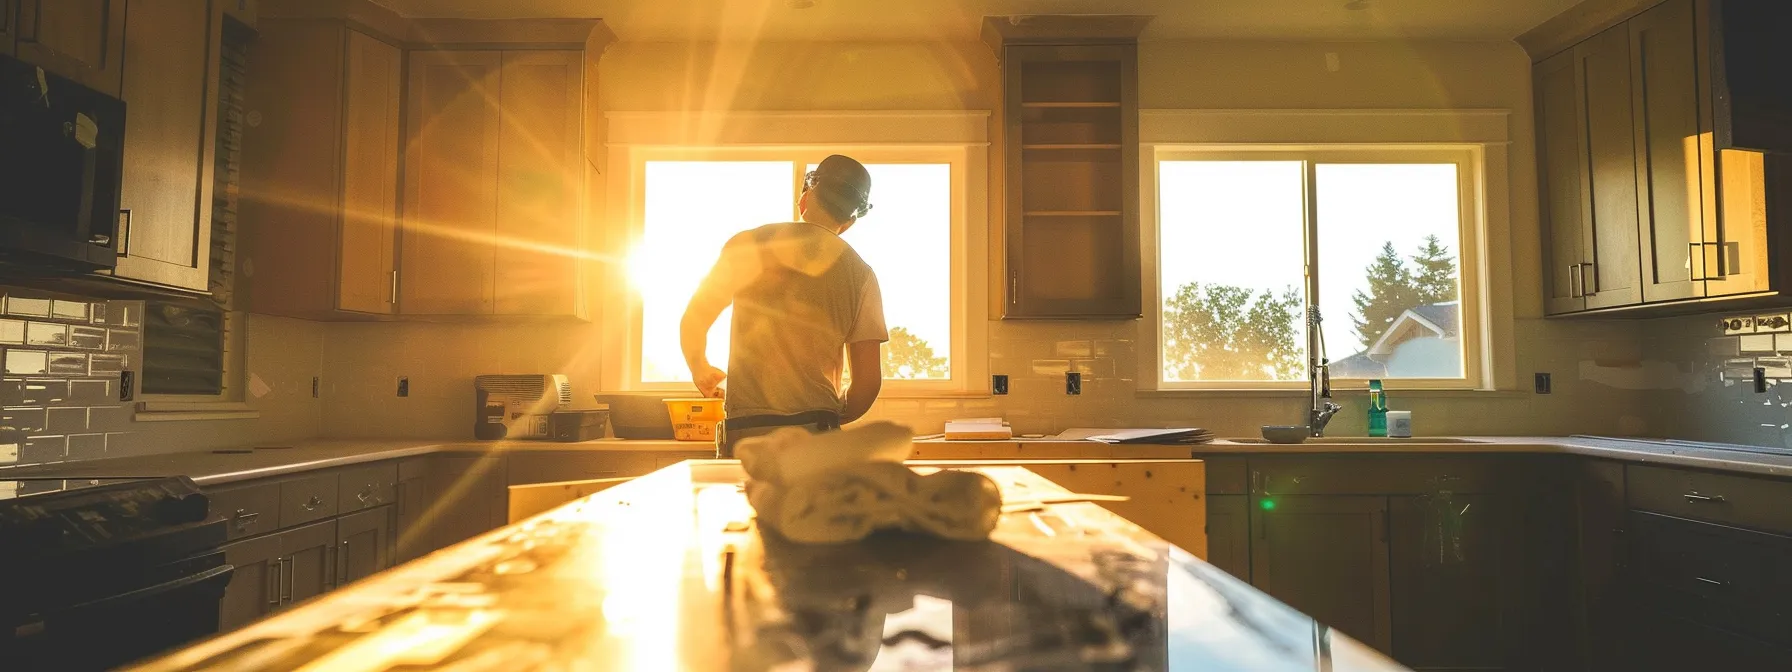
Preparing Your Home for Resurfacing Work
Preparing your home for resurfacing work is a crucial step that enhances both the efficiency and safety of the renovation process. Start by clearing the area of any personal belongings to minimize the impact of dust and debris that may arise from demolition activities during your bathroom makeover. Additionally, consider making temporary accessibility arrangements; this allows you and your family to navigate around your home comfortably while the project is underway and ensures that everything blends seamlessly once the work on your iron fixtures is complete.