Table Of Contents:
- Key Takeaways
- Understanding Benchtop Resurfacing Basics
- Essential Tools and Materials Needed
- Preparing Your Benchtop Surface
- Step-by-Step Resurfacing Guide
- Avoiding Common DIY Mistakes
- Caring for Your New Benchtop
- Conclusion
Are you tired of your worn-out benchtop but worried about the cost of replacement? With easy DIY benchtop resurfacing techniques, you can breathe new life into your surfaces using materials like laminate or formica. In this guide, you’ll learn important basics, essential tools like sandpaper and adhesive, and a step-by-step process that includes preparing your benchtop and applying a new finish. By following these tips, you’ll save money and gain satisfaction from transforming your space while avoiding common mistakes that can hinder your project. Enjoy a beautiful, refreshed benchtop in no time!
Key Takeaways
- benchtop resurfacing revitalizes surfaces without full replacement, saving money and reducing waste
- proper preparation, including cleaning and priming, is essential for achieving durable finishes
- consider using sealants to protect surfaces from moisture, stains, and scratches
- using cutting boards prevents scratches, while trivets protect against heat damage
- regular maintenance, including cleaning and touch-ups, keeps your resurfaced benchtop looking fresh
Understanding Benchtop Resurfacing Basics

Benchtop resurfacing involves refinishing surfaces to restore or enhance your kitchen or workspace without complete replacement. It offers benefits like cost savings and less waste. You’ll learn to identify suitable materials like butcher block and plywood, understand safety measures for DIY projects, and choose the right resurfacing method using a sprayer. Each aspect plays a crucial role in achieving a refreshed look that aligns with your interior design vision. FImagine Home Page
What Is Benchtop Resurfacing
Benchtop resurfacing is a process that rejuvenates the appearance of your kitchen or workspace surfaces without the need for a full replacement. This technique allows you to apply a new finish over existing materials, such as laminate, metal, or even marble, to bring new life to your countertops. This approach not only saves you money but also minimizes waste, making it an environmentally friendly option.
During resurfacing, you have the opportunity to choose from a variety of finishes, including stains and paint coats, to achieve the desired look. Using a primer is essential for ensuring proper adhesion, especially on smooth or glossy surfaces. By selecting suitable materials and methods, you can create a personalized look that complements your space while extending the life of your surfaces.
DIY benchtop resurfacing empowers you to transform your surfaces effectively. You can easily customize your workspace or kitchen to match your style preferences. Just remember, preparation is key: cleaning surfaces thoroughly, applying the right primer, and following up with quality paint or stain will help you achieve the best results. Consider these steps for a successful project:
- Assess the current condition of your benchtop.
- Choose appropriate materials such as stains or coatings.
- Prepare the surface with cleaning and priming.
- Apply the finish using a sprayer for even coverage.
Benefits of Resurfacing Instead of Replacing
Choosing to resurface your benchtops instead of replacing them can lead to significant cost savings. A complete replacement involves not only the expense of new materials like granite or laminate but also the labor costs associated with installation. By using methods like spray painting or applying an epoxy finish, you can achieve a fresh look without breaking the bank, making it a smart financial decision for your kitchen or workspace makeover.
Another important advantage of resurfacing is the minimal waste generated compared to a full replacement. When you refinish your existing surfaces, you contribute less to landfills and help the environment. This eco-friendly approach not only supports sustainable practices but also allows you to transform your space in a way that feels responsible and conscientious.
Lastly, resurfacing opens up a world of customization options. Whether you choose a modern spray painting technique or use a brush for detailed work, you have full control over the final appearance. With various finishes and colors available, you can tailor the look of your benchtops to match your personal style and the overall decor of your home, making each project a unique expression of your vision.
Identifying Suitable Benchtop Materials
When selecting suitable benchtop materials for resurfacing, consider the existing surface you want to revitalize. Common options include laminate and wood, which can be easily sanded and refinished. If your benchtop is made from sturdier materials like stone, you can enhance its appearance with a high-quality stone coat, providing a fresh look without the need for a complete replacement.
Resin is another excellent choice for benchtop resurfacing, particularly in Bathrooms and Kitchens where moisture resistance is essential. Applying a resin coating can not only protect the surface but also offer a wide range of finishes that suit your personal style. Ensure proper preparation by sanding the surface, which promotes better adhesion for the resin finish.
It’s essential to keep in mind the overall design of your cabinetry and surrounding decor when selecting your resurfacing materials. Your choice should harmonize with your space while providing durability and functionality. By thoughtfully choosing materials, like a chocolate brown resin for a contemporary kitchen or a light hue for a bathroom, you can achieve an attractive and cohesive aesthetic in your home.
Safety Measures for First-Time DIYers
When starting your do it yourself benchtop resurfacing project, safety should be your priority. Make sure to wear protective gear such as gloves, safety goggles, and a mask. These items will guard against potential dust, fumes from sealants, and any chemical exposure involved in working with materials like tile or wood grain finishes.
Before you begin applying finishes or sealants, ensure your workspace is well-ventilated. This helps reduce the buildup of harmful fumes, creating a safer environment for you while you work. Additionally, make sure to clear the floor of any clutter, as a safe and organized area will prevent accidents and make your resurfacing process smoother.
Familiarize yourself with the tools and materials you will use. For instance, if you plan to work with tile, know the best practices for cutting and fitting pieces together. Understanding how to properly use and maintain your tools minimizes the risk of injury and ensures the longevity of your equipment, allowing for a successful DIY resurfacing project.
Choosing the Right Resurfacing Method
Choosing the right resurfacing method depends on the material of your benchtop and your desired outcome. For example, if you are working with a slate surface, using a specialized slate paint can enhance its natural appearance while providing a protective coat. For surfaces made of steel, consider applying a durable epoxy finish to ensure longevity and resistance to scratches.
If your benchtop features a mica laminate, you may benefit from using a primer designed for laminate surfaces before applying a paint or stain. This step is crucial for proper adhesion, ensuring that your new finish lasts longer. When resurfacing plastic counters, look for a spray-on coating that bonds well with plastic, as this method provides a smooth finish while reducing the risk of peeling.
In addition, consider the location of your benchtop. If it’s near a sink or constantly exposed to moisture, you should choose a waterproof finish. A high-quality resin coating is an ideal choice for this scenario, as it not only protects against water damage but also allows for various colors and textures that can match your style preferences. By selecting a method tailored to your material and usage, you can achieve a professional-looking result in your DIY resurfacing project.
Now that you grasp the basics of benchtop resurfacing, it’s time to focus on the tools needed for the job. With the right materials at hand, you can turn your old surfaces into something remarkable.
Essential Tools and Materials Needed
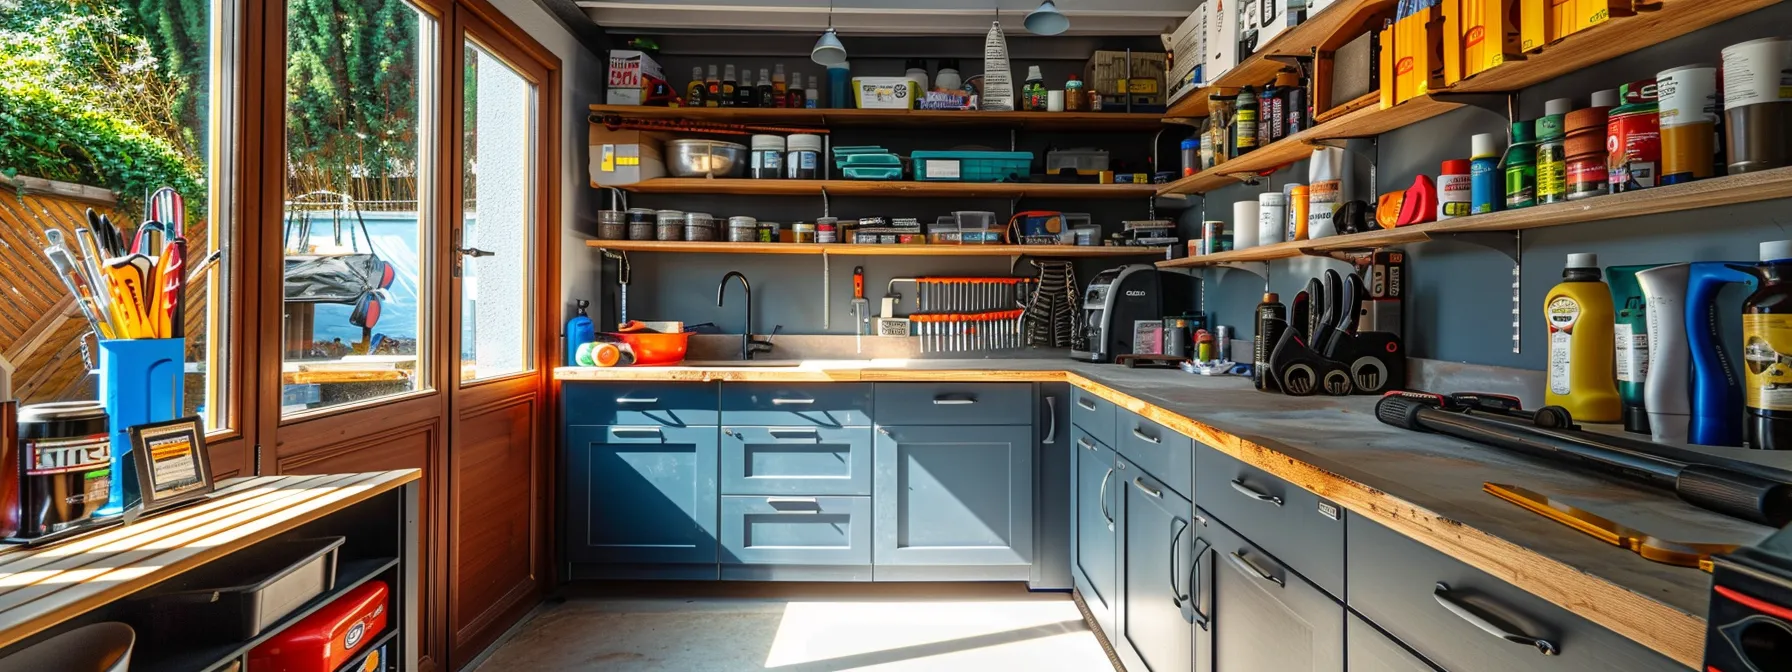
Gathering the necessary equipment is the first step in your DIY benchtop resurfacing journey. You will need quality resurfacing products like paints or coatings suitable for materials such as quartz and wood. Options that fit your budget are important, so explore local hardware stores for reliable supplies. Preparing your workspace effectively will set the stage for a successful project, whether you are refreshing your kitchen cabinet or updating your laundry room.
Gathering the Necessary Equipment
To kickstart your DIY benchtop resurfacing project, gather the essential tools and materials needed for a successful home improvement. Begin with high-quality polyurethane for your finish, as it provides excellent durability and a smooth look. A foam roller or brush will help you apply the polyurethane evenly, ensuring a professional finish without visible lines.
Next, you should consider the types of powders and adhesives that may be needed for specific resurfacing tasks. If you’re working with laminate surfaces, a primer designed specifically for this material can enhance adhesion and prevent peeling in the long run. Additionally, having a good-quality mask on hand will protect you from dust and fumes while you work, ensuring a safe environment.
Finally, prepare your workspace to ensure a smooth project experience. Gather drop cloths or tarps to keep your area clean and free from spills. Organize your tools and materials so they are easily accessible, making the resurfacing process seamless:
- High-quality polyurethane finish
- Foam roller or brush
- Specialized primer for laminate surfaces
- Powders and adhesives for specific materials
- Protective mask for safety
- Drop cloths or tarps for workspace preparation
Selecting Quality Resurfacing Products
When selecting quality resurfacing products, it’s important to consider the type of surface you are working with and the desired outcome for your renovation project. If you’re resurfacing a solid surface countertop, choose a high-quality acrylic or polyurethane finish that offers durability and a smooth appearance. For concrete benchtops, look for specialized concrete coatings that provide both protection and an appealing aesthetic, ensuring a long-lasting result.
Pay attention to the pigments used in your selected products, as they can significantly impact the final look of your resurfaced area. A good-quality paint or stain will contain rich pigments that deliver vibrant colors while maintaining their integrity over time. This is crucial for achieving a polished appearance, especially on walls or countertops where durability against wear and tear is necessary.
Additionally, ensure that the resurfacing products you select are easy to apply and compatible with your workspace conditions. For instance, if you are working indoors, opt for low-VOC (volatile organic compounds) options that minimize fumes while still providing effective coverage. This consideration not only enhances your comfort during the renovation process but also contributes to a healthier indoor environment.
Affordable Options for Beginners
When starting your DIY benchtop resurfacing project, you can find affordable options that won’t strain your budget. For instance, consider using basic materials like latex paint specifically designed for countertops or a low-cost polyurethane finish. These choices not only provide a fresh look but also ensure durability for your surfaces in bathrooms and kitchens.
Additionally, look for options that help minimize dust and create a safe workspace. Investing in a quality dust mask and drop cloths can protect both you and your room while you work. The right protective gear allows you to focus on the task, making the resurfacing process smoother and more enjoyable.
Ultimately, you should focus on sourcing materials that fit your project needs without overspending. Explore hardware stores or online resources that offer budget-friendly resurfacing products. Remember, quality doesn’t have to come at a high price:
- Latex paint designed for countertops
- Low-cost polyurethane finish
- Protective masks to reduce dust exposure
- Drop cloths for workspace protection
- Budget-friendly resurfacing kits
Where to Find Reliable Supplies
Finding reliable supplies for your DIY benchtop resurfacing project is crucial for achieving great results. Local hardware stores are often a good starting point, as they carry a variety of resurfacing products, including paints, primers, and protective finishes. You can ask staff for recommendations based on your specific project needs, ensuring you select the right materials tailored to your benchtop surface.
In addition to local shops, consider checking online retailers for specialized resurfacing supplies. Websites often have a broader selection of products, allowing you to compare brands and prices easily. Make sure to read customer reviews to gain insight into the reliability and effectiveness of the products you’re considering. This approach can help you make informed choices and budget more effectively for your project.
Don’t overlook the value of community resources, such as neighborhood groups or DIY forums. You can often find recommendations for trusted suppliers and tips from fellow DIYers who have successfully completed similar projects. Engaging with others in the community not only helps you source quality supplies but can also provide valuable insights to enhance your benchtop resurfacing experience.
Preparing Your Workspace
Preparing your workspace is a vital step in your DIY benchtop resurfacing project. Start by selecting a location with ample natural light and ventilation to ensure a safe and comfortable environment. Clear the area of any obstructions, such as furniture or appliances, to create a clutter-free workspace that allows you to move freely and focus on the task at hand.
Next, gather all the necessary tools and materials before you begin. Having everything organized and within reach will streamline your workflow and reduce the chances of misplacing items during the resurfacing process. Use drop cloths or tarps to protect the surrounding surfaces from spills and dust, keeping your workspace clean and reducing cleanup time later.
Finally, ensure that your workspace is well-ventilated to promote a safe working environment. Open windows or use fans to create airflow, which will help dissipate any fumes from paints or sealants. By maintaining a clean and organized workspace, you set the stage for a more efficient and enjoyable resurfacing experience:
With your tools ready, it’s time to focus on the surface that needs your attention. Preparing your benchtop will set the stage for a smooth and successful resurfacing experience.
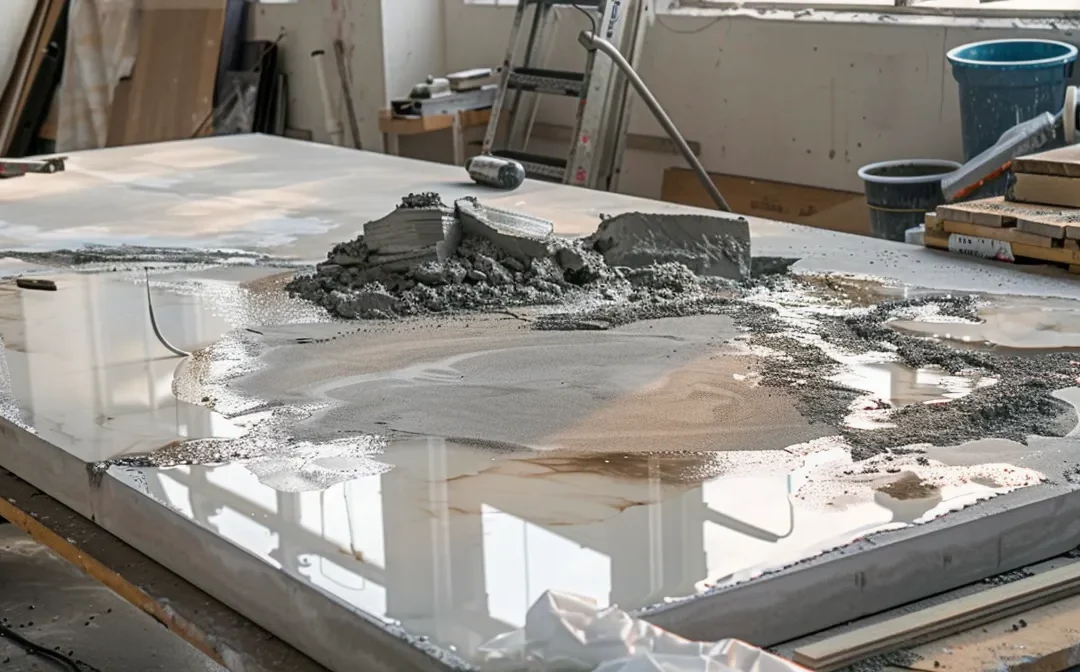
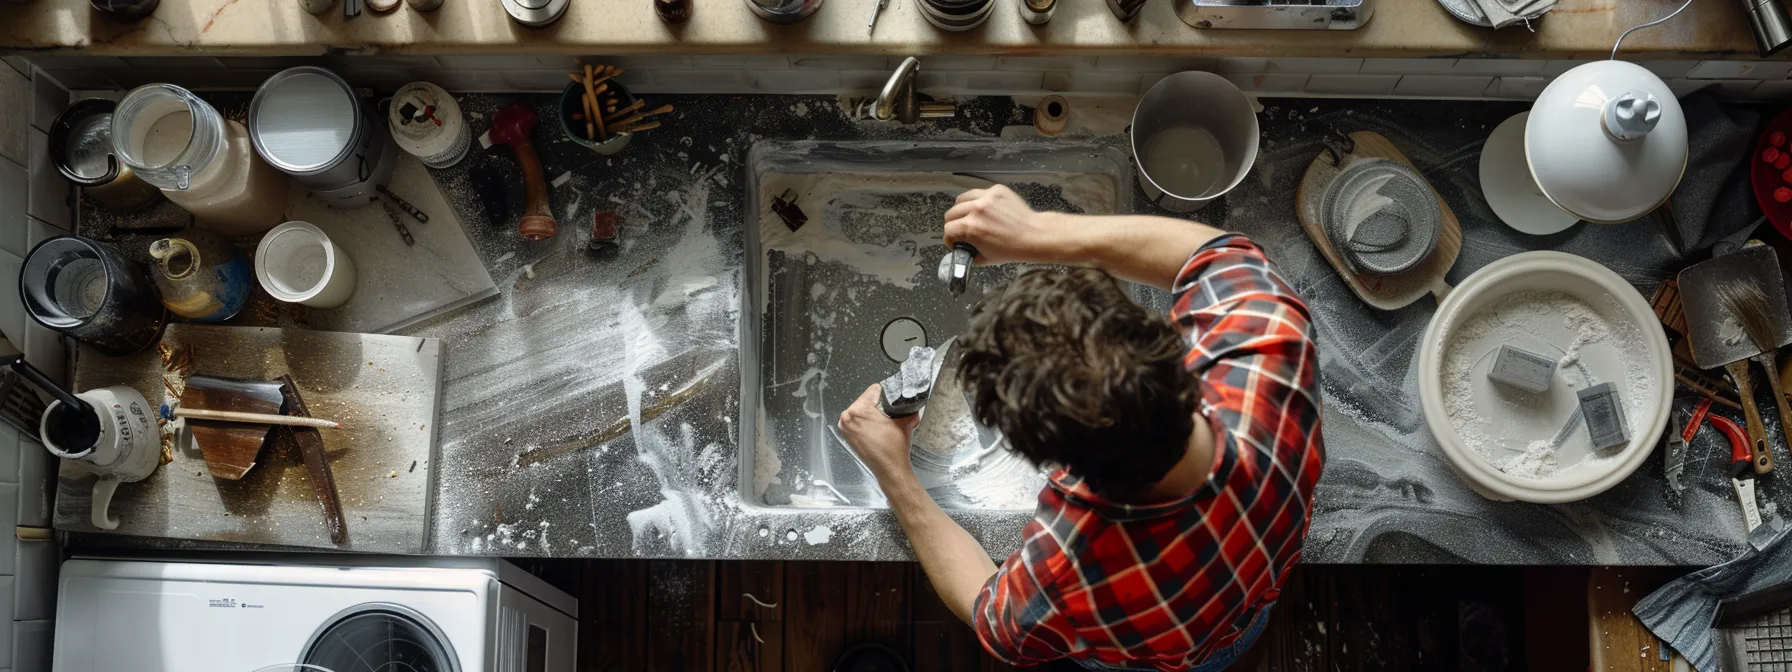
Preparing Your Benchtop Surface
To achieve a successful DIY benchtop resurfacing, begin by thoroughly cleaning and removing old finishes. This step ensures a solid foundation for your new surface. Next, repair any damages and imperfections to create an even base. Use effective sanding techniques for a smooth surface, and protect surrounding areas to prevent accidental messes. Lastly, ensure a dust-free environment for optimal results.
Cleaning and Removing Old Finishes
Start by cleaning your benchtop to remove any dirt, grease, or old finishes that may interfere with the new layer. Use a mild detergent mixed with warm water and a soft cloth or sponge. This step not only prepares your surface for better adhesion but also highlights any areas that may need additional attention.
After the initial cleaning, you must address any remaining old finishes, such as paint or varnish. Consider using a chemical stripper specifically designed for resurfacing or a heat gun to soften these layers. Carefully follow the manufacturer’s instructions, as effective removal ensures a smoother, more professional-looking result in your resurfacing project.
Once you have successfully removed the old finishes, sand the surface lightly to create a rough texture that promotes better adhesion for your new coating. Use fine-grit sandpaper to avoid damaging the surface while ensuring it feels smooth to the touch afterward. This process is crucial for achieving a durable finish that enhances your benchtop’s overall appearance, making your DIY project truly effective.
Repairing Damages and Imperfections
When you notice damages or imperfections on your benchtop, addressing them before resurfacing is vital for achieving a professional finish. Begin by inspecting the surface for any cracks, chips, or scratches that may disrupt the appearance of your new coating. Using wood filler or epoxy can effectively repair these areas, creating a smooth surface ready for the next steps in your resurfacing project.
Next, ensure that you properly fill in any dents or voids. Apply the chosen filler to the troubled areas and let it cure as per the manufacturer’s instructions. Once cured, lightly sand the patches until they are level with the surrounding surface. This step is essential as it prevents any unevenness from showing through the new finish, allowing for a smoother, more refined look.
After patching and sanding, double-check the entire surface for any remaining imperfections. A thorough inspection helps to catch micro-scratches or rough spots that could compromise your final result. Spending this extra time on surface repairs will enhance the durability of your resurfacing, ensuring that your benchtop looks great and stands the test of time.
Sanding Techniques for a Smooth Surface
Sanding your benchtop is a crucial step to ensure a smooth and professional finish during your DIY resurfacing project. Begin with coarse sandpaper, typically around 80-grit, to remove any rough patches and imperfections on the surface. This initial sanding will help create a solid foundation for the new coating, allowing for better adhesion during the resurfacing process.
After addressing the rough spots with coarse sandpaper, switch to a finer grit, such as 220-grit, to refine the surface further. This step smooths out any marks left by the coarser paper and prepares the surface for the application of the finish. Be sure to sand in the direction of the grain if you’re working with wood, as this will enhance the overall appearance and ensure an even look when the coating is applied.
Once you’ve completed sanding, clean the surface thoroughly to remove any dust and debris. A clean workspace is essential for achieving optimal results in your resurfacing project. To summarize the sanding techniques for a smooth surface, follow these steps:
- Start with 80-grit sandpaper for initial smoothing.
- Progress to 220-grit sandpaper for a finer finish.
- Sand in the direction of the grain for wood surfaces.
- Thoroughly clean the surface to remove dust before resurfacing.
Protecting Surrounding Areas
Before you begin your benchtop resurfacing project, it’s essential to protect the surrounding areas to prevent any accidental damage. Start by covering nearby surfaces with drop cloths or plastic sheeting. This simple step will shield your cabinets, floors, and appliances from drips, spills, and dust during the resurfacing process, ensuring a cleaner and safer work environment.
Additionally, use painter’s tape to mask off edges and trim where your benchtop meets other surfaces. This technique helps create clean lines and prevents any finish from seeping onto the areas you want to keep untouched. By taking the time to carefully tape off these areas, you can achieve a more professional-looking result without the worry of paint or coatings staining your cabinetry or walls.
Finally, ensure your workspace is free from clutter and distractions. Organizing your tools and materials not only allows for better movement while working but also minimizes the risk of accidents. By creating a clear and protected area, you’ll not only enhance your efficiency but also set the tone for a successful DIY resurfacing project.
Ensuring a Dust-Free Environment
Creating a dust-free environment is essential for successful benchtop resurfacing. A clean workspace prevents dust and debris from settling on your freshly prepared surfaces, which can affect the adhesion of your new finish. Before you start your project, thoroughly clean the area to remove any existing dust and particles that might interfere with your resurfacing work.
While you work, it’s important to maintain a dust-free space. Use drop cloths to cover nearby furniture and floors, ensuring they stay protected from dust and overspray. You can also utilize damp cloths to wipe surfaces periodically, capturing dust in the air while you sand or prepare your benchtop.
To further reduce dust, consider using a vacuum with a HEPA filter to clean the workspace before and during your project. A well-ventilated area helps circulate air, which not only keeps the space comfortable but also minimizes airborne dust particles. By focusing on these simple yet effective strategies, you’ll create an optimal environment for your DIY benchtop resurfacing project.
With your benchtop surface prepared, the real work begins. Follow this step-by-step resurfacing guide to transform your space efficiently and effectively.
Step-by-Step Resurfacing Guide
To successfully complete your DIY benchtop resurfacing, start by applying a primer for better adhesion. You’ll then explore techniques for an even coating application, ensuring a smooth finish. Consider ways to create decorative finishes that reflect your style. Don’t forget about drying times and the importance of patience, followed by sealing for durability to protect your work.
Applying Primer for Better Adhesion
Applying primer is essential for achieving better adhesion when resurfacing your benchtops. A quality primer forms a strong bond between the existing surface and the new finish, ensuring that your hard work lasts longer. You should choose a primer that is compatible with your benchtop material to enhance adhesion and promote durability in the new coating.
Before applying primer, make sure your work area is clean and well-ventilated. This preparation will help avoid dust and debris from compromising the smoothness of your resurfaces. Using a foam roller or brush, apply a thin, even coat of primer across the surface, following the manufacturer’s guidelines for drying times to ensure optimal results.
Once the primer is dry, inspect your work to confirm there are no missed spots. This crucial step allows you to maintain an even surface, leading to a professional-looking finish once you apply your final layer. Follow these steps for successful primer application:
- Choose a high-quality primer suitable for your surface.
- Clean the benchtop thoroughly before priming.
- Apply a thin, even coat and allow it to dry completely.
Techniques for Even Coating Application
To achieve a smooth and even coating application during your benchtop resurfacing project, it’s crucial to use the right tools. A high-quality foam roller or brush will help you apply the resurfacing material uniformly across the surface. Begin by dipping the brush or roller into your chosen coating and removing excess product to prevent drips, ensuring even coverage as you work across the surface.
Next, always apply the coating in thin layers. Thin layers dry faster and allow for better adhesion of subsequent coats. When rolling or brushing, maintain a steady motion and overlap each stroke slightly to avoid streaks or bare spots. This technique will help you achieve that professional look in your DIY project, making it easier to apply multiple coats as needed for a complete finish.
After applying your coating, allow ample drying time as indicated on the product label before adding a second coat. Be sure to check for an even finish under good lighting, as this can reveal any missed areas. If necessary, lightly sand the first layer with fine-grit sandpaper before applying the next coat for enhanced smoothness and adherence:
Creating Decorative Finishes
Creating decorative finishes on your resurfaced benchtops can significantly enhance their appearance, making the space feel fresh and inviting. You might consider using techniques like stenciling or sponge painting to achieve personalized designs that reflect your style. These methods are accessible for beginners, allowing you to infuse your creativity directly into the project.
Experimenting with different color combinations can also yield impressive results. For instance, utilizing contrasting colors can add depth and dimension to your benchtops, transforming them from ordinary to extraordinary. When applying these decorative finishes, ensure that you work in thin layers to maintain an even texture and prevent unsightly drips.
After applying your decorative finishes, sealing the surface is crucial for durability and protection. A clear topcoat will help safeguard your design against daily wear and tear while enhancing the overall sheen. By following these steps, you can achieve a stunning finish that not only looks professional but also meets your functional needs.
Drying Times and Patience
Understanding drying times is crucial for your DIY benchtop resurfacing project. Each product you use, whether it’s a primer, paint, or sealant, has specific drying times that must be followed to ensure a durable finish. Failing to allow adequate drying can lead to poor adhesion, which may result in damage or peeling in the future.
Patience is key during the resurfacing process. After applying each layer, let it dry completely before moving on to the next step. This may take anywhere from a few hours to a day, depending on the temperature and humidity levels in your workspace. By allowing sufficient time for each coat to cure, you’ll not only improve the overall finish but also extend the lifespan of your resurfaced benchtops.
If you find yourself eager to rush through the project, remind yourself that good preparation and waiting for drying times will pay off in the long run. Quality results come from attention to detail, and a little patience will yield a professional-looking surface that meets your expectations. Take the time to read the product instructions and be mindful of how they fit into your overall project schedule.
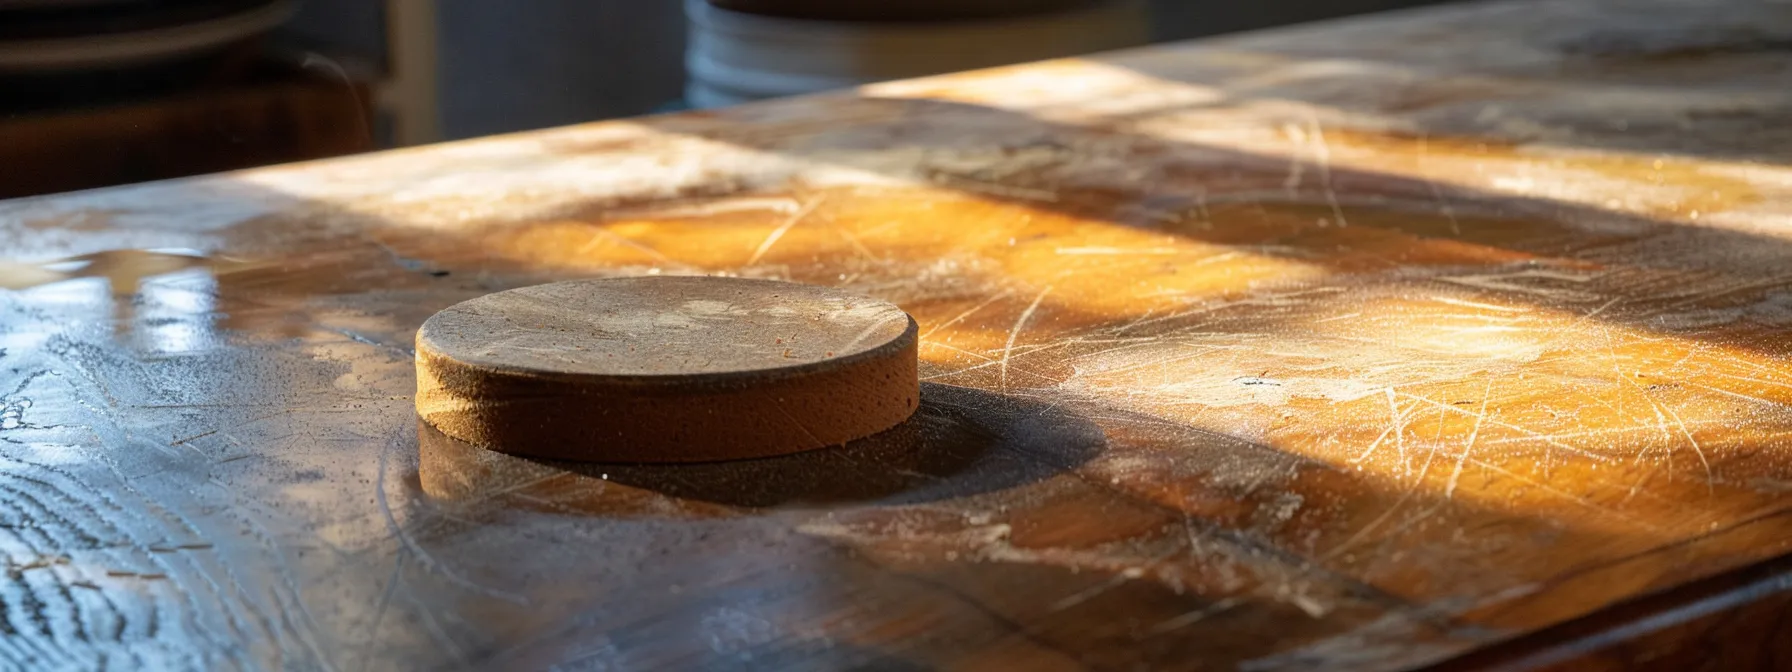
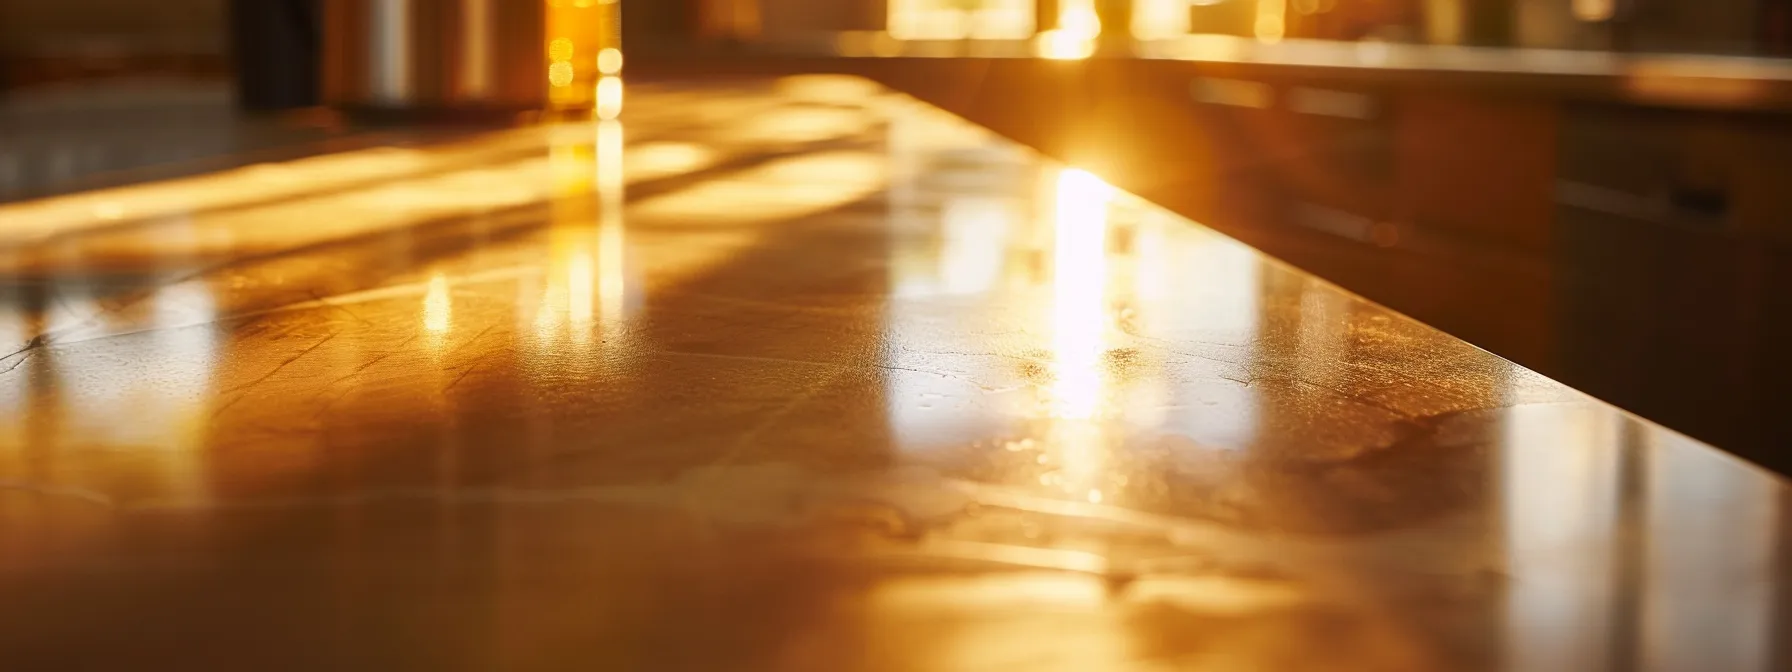
Sealing for Durability
Sealing your benchtop is a crucial step in the resurfacing process that ensures durability and longevity. After applying your desired finish, choosing a high-quality sealant protects the surface from moisture, stains, and scratches. This added layer of protection is especially important in kitchens and bathrooms, where surfaces are frequently exposed to spills and humidity.
Ensure you select a sealant compatible with the materials used in your resurfacing project for optimal performance. Apply the sealant in thin, even coats following the manufacturer’s recommendations for drying times. Taking this approach not only enhances the appearance of your new surface but also extends its lifespan, giving you peace of mind that your hard work will endure daily use.
Once the sealant has dried, perform a thorough inspection to ensure complete coverage, paying special attention to edges and corners. Sealing your benchtop effectively prevents water damage and improves overall resilience, making it easier for you to maintain its beauty over time. By prioritizing this final step, you’ll be set for a successful and long-lasting resurfacing result that meets your expectations.
You’ve learned how to resurface like a pro. Next, let’s tackle the common DIY mistakes that can trip you up along the way.
Avoiding Common DIY Mistakes
Avoiding common DIY mistakes is crucial for the success of your benchtop resurfacing project. Start by never skipping preparation steps, as they lay the groundwork for a quality finish. Understanding product instructions helps you use materials effectively while ensuring good ventilation reduces risks. Be ready for unexpected problems, and know when it’s time to seek professional help for optimal results. Each of these points is essential to navigate your project smoothly.
Not Skipping Preparation Steps
When tackling a DIY benchtop resurfacing project, preparation is the cornerstone of success. Skipping essential preparation steps can lead to a host of issues, including poor adhesion and uneven finishes. Taking the time to clean, repair, and properly sand the surface ensures that your new coating will adhere effectively, resulting in a durable and polished appearance.
For example, cleaning the existing surface thoroughly can remove grease, dust, or old finishes that may interfere with the new layer. Neglecting to do this could cause the new finish to peel off or look uneven. A consistent and prepared surface creates a solid foundation for your resurfacing project and is crucial for achieving the professional results you desire.
Additionally, evaluating the condition of your benchtop before starting will help you identify any necessary repairs. Addressing any chips or cracks ensures that these imperfections won’t show through the new finish. By committing to the preparation phase, you greatly improve your chances of achieving a successful and satisfying DIY resurfacing experience.
Understanding Product Instructions
Understanding product instructions is key to a successful DIY benchtop resurfacing project. Each product, whether it’s primer, paint, or sealant, comes with specific guidelines that detail how to properly apply and set it for the best results. By carefully reading and following these instructions, you’ll avoid common pitfalls, such as applying too thick a coat, which can lead to peeling or an uneven finish.
It’s important to recognize that products may have different drying times and preparation requirements. For instance, some primers require a certain drying period before applying the next coat, while others may need specific surface conditions to ensure adhesion. Taking the time to understand these nuances will enhance the durability of your resurfaced benchtop and prevent the frustration of having to redo parts of your project because of oversight.
Additionally, familiarizing yourself with the tools and techniques recommended in the instructions can help you streamline your resurfacing process. For example, knowing the right type of brush or roller to use can make a significant difference in achieving a smooth finish. By integrating these insights into your work, you position yourself for a more efficient and satisfying DIY experience.
Avoiding Poor Ventilation Issues
Maintaining proper ventilation during your benchtop resurfacing project is essential for your safety and the quality of your work. When you apply paints, primers, or sealants, these substances may contain volatile organic compounds (VOCs) that can accumulate in enclosed spaces. To protect yourself from harmful fumes, open windows and doors to create airflow or use fans to circulate fresh air throughout your workspace.
Another area of concern is the drying process of the products you apply. Insufficient ventilation can lead to longer drying times and affect adhesion, resulting in an uneven finish that detracts from your hard work. You should design your workspace to encourage proper air movement, ensuring that your surfaces dry evenly and quickly. This simple adjustment can improve the overall outcome of your resurfacing project.
It’s also helpful to be mindful of the weather when planning your resurfacing tasks. Humid or damp conditions can compound ventilation issues and delay the drying process. Try to resurface your benchtops when the weather is dry and mild, allowing your finishes to cure properly. By considering these factors, you can avoid poor ventilation issues and achieve a successful DIY resurfacing experience.
Dealing With Unexpected Problems
When resurfacing your benchtop, unexpected problems may arise, and it’s essential to stay prepared. For instance, if the primer or finish appears to peel or bubble, this could indicate the surface was not adequately cleaned or dried before application. To address this issue, carefully remove the affected area and reapply a proper primer after ensuring the surface is clean and dry.
Another common issue you might face involves inconsistencies in the coating. If you notice streaks or uneven color distribution, this could result from applying the material too thickly or not using the right tools. In this scenario, take a step back, sand down the area lightly to smooth it out, and reapply the finish using a roller or brush for even coverage.
Lastly, be prepared for unexpected weather changes while working on your resurfacing project. High humidity or sudden rain can affect drying times and adhesion quality. If you’re working indoors, monitor the ventilation and temperature to create an optimal environment. Adjust your project timeline considering these factors, ensuring that you allow sufficient drying time between coats to achieve the best results.
When to Seek Professional Help
Sometimes, despite your best efforts, a DIY benchtop resurfacing project may become overwhelming. If you encounter significant imperfections that could compromise the final outcome, it may be best to seek professional help. Professionals have the experience and tools necessary to address issues like deep scratches, severe stains, or uneven surfaces, ensuring a polished finish that enhances your space.
Additionally, if you find that the surface material is more challenging to work with than anticipated, don’t hesitate to call in the experts. This is particularly true for materials such as natural stone or high-end laminates, which require specific techniques and expertise during resurfacing. Partnering with professionals can provide peace of mind, as they know how to properly handle these materials for the best results.
Finally, if you feel unsure about your ability to achieve the desired look or finish, it’s wise to choose professional services. Investing in quality resurfacing work can save you time and money in the long run, preventing costly mistakes that may necessitate further repairs or complete replacements later on. Evaluating your comfort and skill level can help you decide when it’s time to bring in a professional:
- Recognize significant imperfections that need expert attention.
- Identify challenging surface materials that require specialized skills.
- Evaluate your confidence in achieving the desired finish.
You’ve avoided the common DIY pitfalls. Now, it’s time to care for your new benchtop, ensuring it stays beautiful for years to come.
Caring for Your New Benchtop
Caring for your newly resurfaced benchtop is essential for maintaining its appearance and longevity. You will learn effective routine cleaning tips to keep your surfaces spotless, along with strategies for preventing scratches and heat damage. Additionally, recommended maintenance products will help you protect your investment, while touch-up techniques can address minor flaws. Finally, understanding long-term care measures ensures lasting results for your benchtop.
Routine Cleaning Tips
To maintain the pristine appearance of your newly resurfaced benchtop, start with regular routine cleaning. Use a soft cloth or sponge with warm water and mild dish soap to gently wipe down the surface. Avoid abrasive cleaners or scouring pads, as these can scratch the finish and lead to premature wear.
After cleaning, it’s beneficial to rinse the surface with clean water to remove any soap residue. This simple step helps preserve the fresh look of your benchtop, preventing dullness over time. For added shine, consider using a non-abrasive cleaning product specifically designed for resurfaced surfaces, ensuring it complements the materials used in your resurfacing project.
Lastly, keep the workspace clutter-free to make routine cleaning easier. Regularly dusting the area and promptly wiping up spills will not only maintain the appearance of your benchtop but also extend its lifespan. Following a consistent cleaning schedule can greatly enhance the durability and beauty of your resurfaced benchtop:
Preventing Scratches and Heat Damage
To protect your newly resurfaced benchtop from scratches, consider using cutting boards whenever you slice or chop food. This simple practice helps preserve the integrity of your surface and prevents unwanted damage. By making this small adjustment in your kitchen habits, you can significantly extend the life of your benchtop.
Heat damage is another concern that can affect the appearance of your benchtop. To prevent heat-related issues, always use trivets or hot pads when placing hot cookware on your surfaces. This precaution safeguards your finishes and helps maintain the professional look of your resurfaced area, ensuring that it remains a focal point in your kitchen.
Additionally, maintaining cleanliness is essential for the longevity of your benchtop. Regularly cleaning your surface with non-abrasive cleaners protects it from dirt and grime buildup that can lead to scratches. Here are some effective care tips to keep in mind:
- Use cutting boards to prevent scratches from sharp objects.
- Utilize trivets or hot pads to guard against heat damage.
- Clean with non-abrasive cleaners regularly to maintain surface integrity.
Recommended Maintenance Products
To keep your newly resurfaced benchtop looking fresh and vibrant, you should invest in quality maintenance products. A non-abrasive surface cleaner specifically designed for the type of finish you’ve applied is essential for routine cleaning. These products effectively remove daily grime without scratching or damaging the surface, ensuring your work remains beautiful over time.
Alongside surface cleaners, consider using a protective wax or sealant regularly. Applying a high-quality sealant designed for your material can enhance its durability and resistance to stains. This layer of protection helps preserve the aesthetic of your benchtop and adds longevity to your resurfaced projects, making it an important step in your maintenance routine.
Lastly, having some microfiber cloths on hand can enhance your cleaning efforts. They are perfect for wiping down your surfaces, leaving no lint behind. This simple addition to your maintenance toolkit will help you maintain a spotless appearance without the risk of scratching, ensuring your newly resurfaced benchtop stays in top condition:
- Non-abrasive surface cleaner
- High-quality sealant
- Protective wax
- Microfiber cloths for cleaning
Touch-Up Techniques for Minor Flaws
Touching up minor flaws on your resurfaced benchtop is a straightforward task that can maintain the fresh look of your surfaces. For small scratches or chips, you can use a matching paint or sealant to carefully dab over the imperfections. This process not only conceals the flaws but also reinforces the protective layer of your benchtop, enhancing its longevity.
Another effective technique for addressing minor flaws involves sanding and refinishing the affected area. Use fine-grit sandpaper to gently buff out any visible imperfections before applying a new coat of finish. By matching the texture and color, you’ll ensure that the repair seamlessly integrates with your existing surface, preserving the overall aesthetic of your kitchen or workspace.
Regularly inspecting your benchtop for these minor issues is key to keeping it looking pristine. If you notice any imperfections, address them promptly to avoid more significant damage down the line. By implementing these touch-up techniques, you can keep your resurfaced benchtop in great condition and maintain the fresh, new look you’ve achieved through your DIY efforts.
Long-Term Care for Lasting Results
To achieve lasting results with your resurfaced benchtop, it is essential to establish a regular maintenance routine. Cleaning your surface with mild soap and water will keep it looking fresh while preventing grime build-up. Avoid harsh chemicals that could damage the finish and opt for non-abrasive cleaners specifically designed for resurfaced surfaces.
Incorporate protective measures into your daily habits to safeguard your resurfaced benchtop. Using cutting boards when preparing food will prevent scratches, and applying trivets or heat pads under hot pots will protect against heat damage. These simple actions go a long way in maintaining the appearance and integrity of your newly resurfaced kitchen or workspace.
Additionally, periodic touch-ups will help preserve your benchtop’s look over time. Inspect the surface for any minor flaws and address them promptly with matching paint or sealant. By being proactive and attentive to these details, you ensure that your resurfaced benchtop remains a beautiful and functional part of your home for many years to come.
Conclusion
Easy DIY benchtop resurfacing techniques empower beginners to refresh their kitchens and workspaces effectively and affordably. By understanding key steps like proper preparation, selecting suitable materials, and applying finishes correctly, you can achieve professional-looking results. Implementing safety measures and maintaining a dust-free environment further ensures success throughout the process. Embrace these techniques to enhance your space while saving time and money, showcasing your unique style and creativity.