
Table Of Contents:
- Key Takeaways
- Understanding Countertop Resurfacing Techniques and Benefits
- Selecting the Best Resurfacing Materials for Your Countertops
- Preparing Your Countertops for Resurfacing: Essential Steps
- How to Resurface Your Countertops: A Detailed Guide
- Adding Finishing Touches: Sealing and Protecting Your Surface
- Adding Finishing Touches: Sealing and Protecting Your Surface
- Caring for Your Resurfaced Countertops: Maintenance Tips
- Caring for Your Resurfaced Countertops: Maintenance Tips
- Conclusion
Are your countertops looking worn out and outdated? Resurfacing might be the solution you need. This guide will walk you through essential techniques, selecting the best resurfacing materials like oils and adhesives, and preparing your surfaces for a fresh new look. By addressing common issues such as dust and damage from kitchen cabinet usage, you’ll learn how to restore your surfaces effectively, enhancing both functionality and aesthetics in your kitchen. Engage with this content to transform your countertops and regain their beauty and durability.
Key Takeaways
- Resurfacing countertops can save you money compared to full replacements
- Epoxy finishes provide excellent durability and stain resistance for busy kitchens
- Proper cleaning techniques extend the lifespan of resurfaced countertops
- Choosing the right sealant is critical for protecting your countertop investment
- Regular maintenance checks can identify issues before they become significant problems
Understanding Countertop Resurfacing Techniques and Benefits
When considering a kitchen remodel, it’s essential to explore the types of FIMAGINE Homepage countertops suitable for resurfacing, including those with foam or epoxy finishes. Resurfacing offers several advantages over replacement, such as cost savings and reduced downtime. This section will delve into the specific countertop materials ideal for resurfacing and highlight the benefits that make it a smart choice for your remodel.
Identify Different Types of Countertops Suitable for Resurfacing
When considering a kitchen makeover, you may be surprised to find that several types of countertops are suitable for resurfacing. Granit, known for its durability and aesthetic appeal, can be transformed with resurfacing techniques that enhance its looks without the need for full replacement. Likewise, Formica countertops can benefit from a new layer, making them more visually appealing and resistant to wear.
Polyurethane finishes are also a popular choice for resurfacing various countertop materials. This technique allows you to refresh not just the appearance of your countertops but also to extend their lifespan significantly. By opting for resurfacing, you can maintain the integrity of your cabinetry while giving your kitchen a vibrant, updated look without the extensive disruption often associated with more invasive remodels.
In addition to granite and Formica, other materials such as laminate also lend themselves well to resurfacing. This approach can be an efficient solution if you seek to enhance areas that experience heavy use. By selecting the right resurfacing technique, you ensure a beautiful and practical outcome that meets your needs while making the most of your investment.
Explore the Advantages of Resurfacing Over Replacement
Choosing to resurface your countertops instead of replacing them can lead to significant cost savings. When you resurface, you work with the existing structure, reducing the expense associated with purchasing new materials and installation. This approach allows you to achieve a fresh, modern look without the hassle and expenses that come from removing old countertops and dealing with sink and plumbing adjustments.
Another benefit of resurfacing is the minimal disruption it causes to your living space. Unlike full replacements that often require extensive demolition and remodeling, resurfacing can be completed quickly. You won’t have to worry about removing flooring or handling debris for extended periods, which means you can enjoy your upgraded countertops in less time and with less hassle.
Your choice of resurfacing materials can also enhance the durability of your countertops while providing a beautiful finish. Options such as solid surface and epoxy finishes can withstand daily wear, providing resistance against scratches and stains. Combining these materials with careful techniques like sanding with sandpaper ensures a smooth, professional look that keeps your kitchen functional and visually appealing for years to come.
With a solid grasp of resurfacing techniques, you must now consider the materials that will shape your countertops. The right choice can elevate both style and function, ensuring your kitchen becomes a space you love.
Selecting the Best Resurfacing Materials for Your Countertops

When selecting the best resurfacing materials for your countertops, it’s important to compare options like epoxy, concrete, and laminate. Each material offers unique benefits related to durability and aesthetics, making them suitable for different countertop types. You’ll learn how to determine the right choice based on your specific needs, whether you deal with water damage or require a fresh coat for a quartz or laminate surface near your stove.
Compare Epoxy, Concrete, and Laminate Resurfacing Options
When remodeling your countertops, epoxy resurfacing is a popular choice due to its durability and resistance to stains. Epoxy creates a hard, smooth finish that can withstand the day-to-day wear and tear of kitchen activities, making it ideal for busy cooking spaces. If you want to revitalize your countertops with a sleek, modern look, epoxy could be your go-to solution.
Concrete resurfacing is another viable option, especially for those seeking a unique aesthetic. This method allows you to customize the color and texture, giving you flexibility to match your countertops with your kitchen decor or even the wall tiles. Concrete surfaces are strong and can endure heavy use, making them suitable for various environments.
Laminate resurfacing is an affordable and straightforward approach to refreshing older countertops. It can cover existing surfaces seamlessly, providing a brand-new look without significant remodeling effort. By applying a laminate layer, you can easily change the appearance of your countertops without the hassle of dealing with stains, scratches, or outdated designs:
- Consider the durability and maintenance requirements of each option.
- Evaluate the visual appeal and customization needed for your kitchen.
- Factor in your budget to determine the best resurfacing material.
Determine the Right Material Based on Your Countertop Type
To determine the right resurfacing material for your countertops, first assess the type of material currently in place. For instance, oak countertops may require a more delicate touch compared to laminate options. Each surface reacts differently to various resurfacing techniques, making it essential to match the method with the existing material for the best results.
Next, consider the functions of your space, such as the presence of a dishwasher or heavy-use drawers near the countertop. These elements can influence your choice of resurfacing materials. Durable options like epoxy are ideal for high-traffic areas, ensuring the surface withstands daily wear while maintaining its appeal.
Lastly, evaluate your kitchen’s overall design and layout. If your countertop needs to complement other features in the room, such as cabinetry or appliances, selecting a resurfacing material that enhances these elements is key. By prioritizing both functionality and aesthetics, you’ll create a cohesive and beautiful space:
- Assess the current material of your countertops.
- Consider how kitchen appliances affect usage.
- Evaluate the overall design for aesthetic alignment.
You’ve chosen the right materials for your countertops. Now it’s time to get them ready for resurfacing. Here’s how to prepare your surfaces to ensure a smooth and lasting finish.
Preparing Your Countertops for Resurfacing: Essential Steps
To achieve a successful countertop makeover for your home improvement project, begin by cleaning the surface thoroughly to remove dirt and grease. Next, repair any cracks and chips to create a smooth base for resurfacing. Finally, sand the countertop to ensure proper adhesion of the new materials, setting the stage for a durable and attractive finish. These essential steps will prepare your countertops for an impressive transformation.
Clean the Surface Thoroughly to Remove Dirt and Grease
Cleaning the surface of your countertops is a critical first step in the resurfacing process. You want to remove any dirt, grease, or residue that could interfere with the adhesion of new materials. Start with a gentle cleaner and a cloth, focusing on all areas, especially corners and edges where grime tends to accumulate. This ensures that surfaces like wood, particle board, or metal will be ready for the best possible finish.
After you’ve wiped down the surface, inspect it for any remaining stains or greasy spots. For tougher areas, consider using a sander equipped with a suitable sandpaper to scrub away stubborn debris. Just remember to sand lightly to avoid damaging the countertop material. Ensure the floor remains clear of debris during this process to prevent accidents and to make the cleanup easier after you finish.
Once the cleaning is complete, let the surface dry thoroughly. A completely dry surface is vital for the new materials to adhere correctly. This final preparation step guarantees that you are starting the resurfacing project on a solid foundation, setting you up for lasting results. Reviewing all the steps you just covered can further solidify your process:
Repair Cracks and Chips for a Smooth Resurfacing Base
Repairing cracks and chips in your countertops is a crucial step toward achieving a smooth resurfacing base. Start by assessing the damage on surfaces like marble, butcher block, or even laminate. For minor chips, you can use a color-matched epoxy filler, which ensures that the repair blends seamlessly with your countertop’s original finish.
For deeper cracks, a more careful approach is needed. Clean the affected area thoroughly to remove any debris, then apply the epoxy filler. Once it cures according to the manufacturer’s instructions, sand it down until it’s flush with the surrounding surface. This attention to detail will create a solid foundation ready for your resurfacing project, ensuring lasting results in your kitchen or bathroom.
Don’t overlook how repairs can enhance the overall look of your countertops, making them appear brand new. After completing your repairs, take a moment to ensure everything is smooth and even, as this will significantly affect how the resurfacing material adheres. Following these steps will prepare your countertops, leading to an impressive transformation in your space:
- Assess damage on countertops like marble or butcher block.
- Use color-matched epoxy for blending repairs.
- Sand cured epoxy to ensure a smooth finish.
Sand the Countertop to Ensure Proper Adhesion of Materials
To ensure a successful resurfacing of your countertops, sanding is a critical step that cannot be overlooked. This process helps prepare the surface, providing a rough texture that allows the new materials to bond effectively. Whether you are resurfacing kitchen countertops, a cutting board, or surfaces in your laundry room, proper sanding ensures a long-lasting finish that can withstand daily use.
When sanding, use fine-grit sandpaper to create an even surface without damaging the existing material. Focus on areas that tend to experience more wear, such as around the sink in the kitchen or the edges where tasks like spray painting may occur. The goal is to have a smooth, even surface that enhances the adhesion of the resurfacing material, ultimately leading to a more durable and aesthetically pleasing finish.
After sanding, always remember to clean the surface thoroughly to remove any dust or debris. This step is essential, as it ensures that the new materials adhere properly without any interference from residue left behind. Whether you are working on countertops in the dining room or any other area of your home, this attention to detail will significantly improve the quality and longevity of your resurfaced countertops.
Now that your countertops are ready, it’s time to get to work. In the next section, you will learn how to resurface them step by step, transforming your space into something fresh and inviting.
How to Resurface Your Countertops: A Detailed Guide
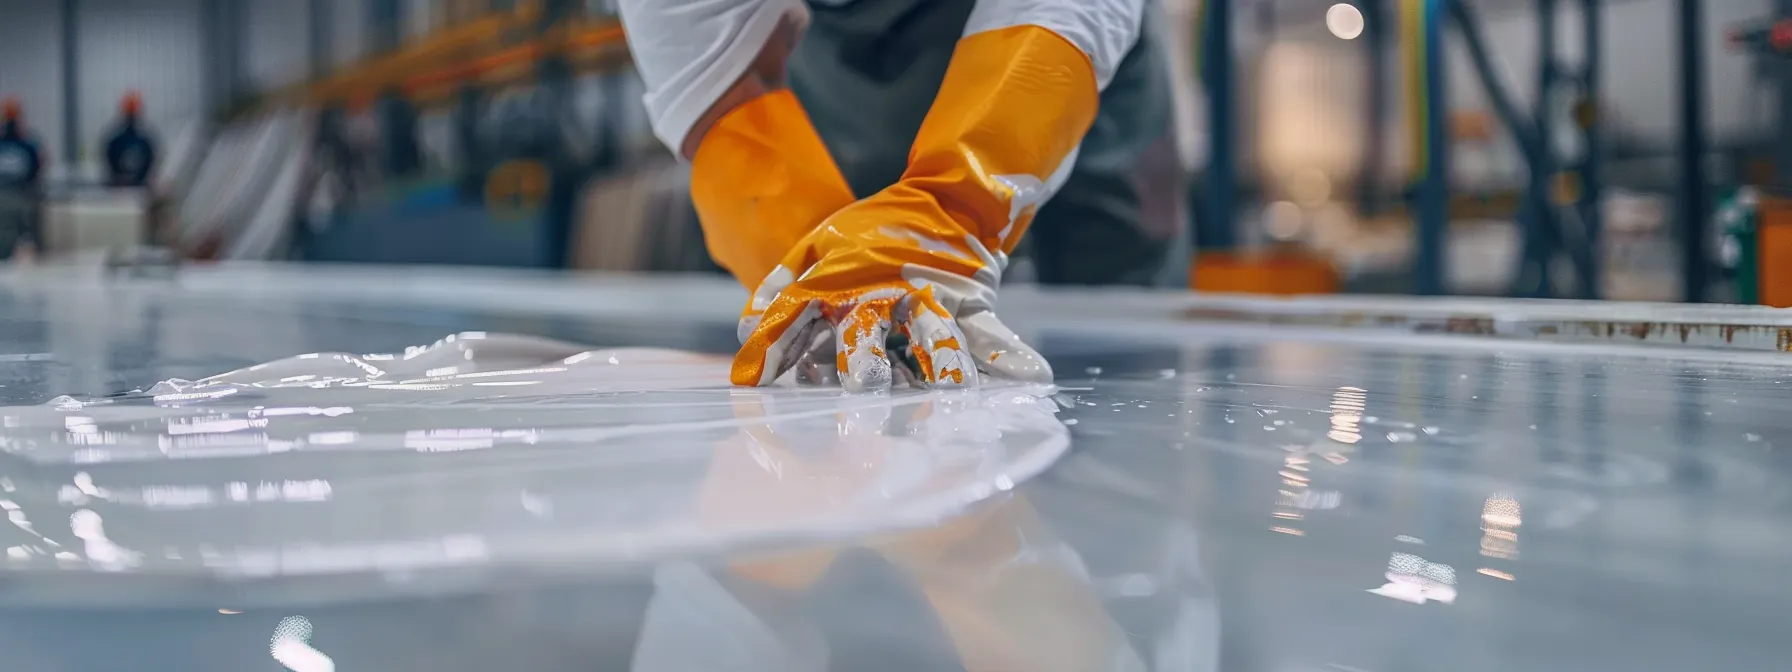
To begin your countertop resurfacing project, apply a primer to enhance the adhesion of resurfacing materials, ensuring a long-lasting finish. Next, mix and apply the resurfacing compound evenly, using tools like a sponge for a smooth application. Finally, allow the surface to cure properly before adding any additional coats, setting the stage for a durable transformation in your Bathrooms and Kitchens.
Apply Primer to Enhance Adhesion of Resurfacing Materials
Applying a primer is an essential step in the resurfacing process, as it enhances the adhesion of resurfacing materials to your countertops. When you are working with varied materials like concrete, stainless steel, or even polyvinyl chloride, using the right primer ensures a robust bond that will hold up over time. Skipping this step could lead to peeling or lifting, resulting in an undesirable finish that requires you to redo the project.
When you apply primer, make sure to choose one specifically designed for the material you’re resurfacing. For instance, a primer suitable for concrete will promote better adhesion than one intended for laminate surfaces. By selecting the correct product, you reduce the risk of adhesion issues that could compromise the durability of your new countertop surface, thereby protecting your investment in the long run.
After applying the primer, it is important to allow it to cure fully before proceeding with the resurfacing compound. This will ensure that the surface is optimally ready to bond with the new material. By being patient and following the recommended curing times, you will set a solid foundation for your project, leading to a beautiful, long-lasting countertop transformation that meets your needs.
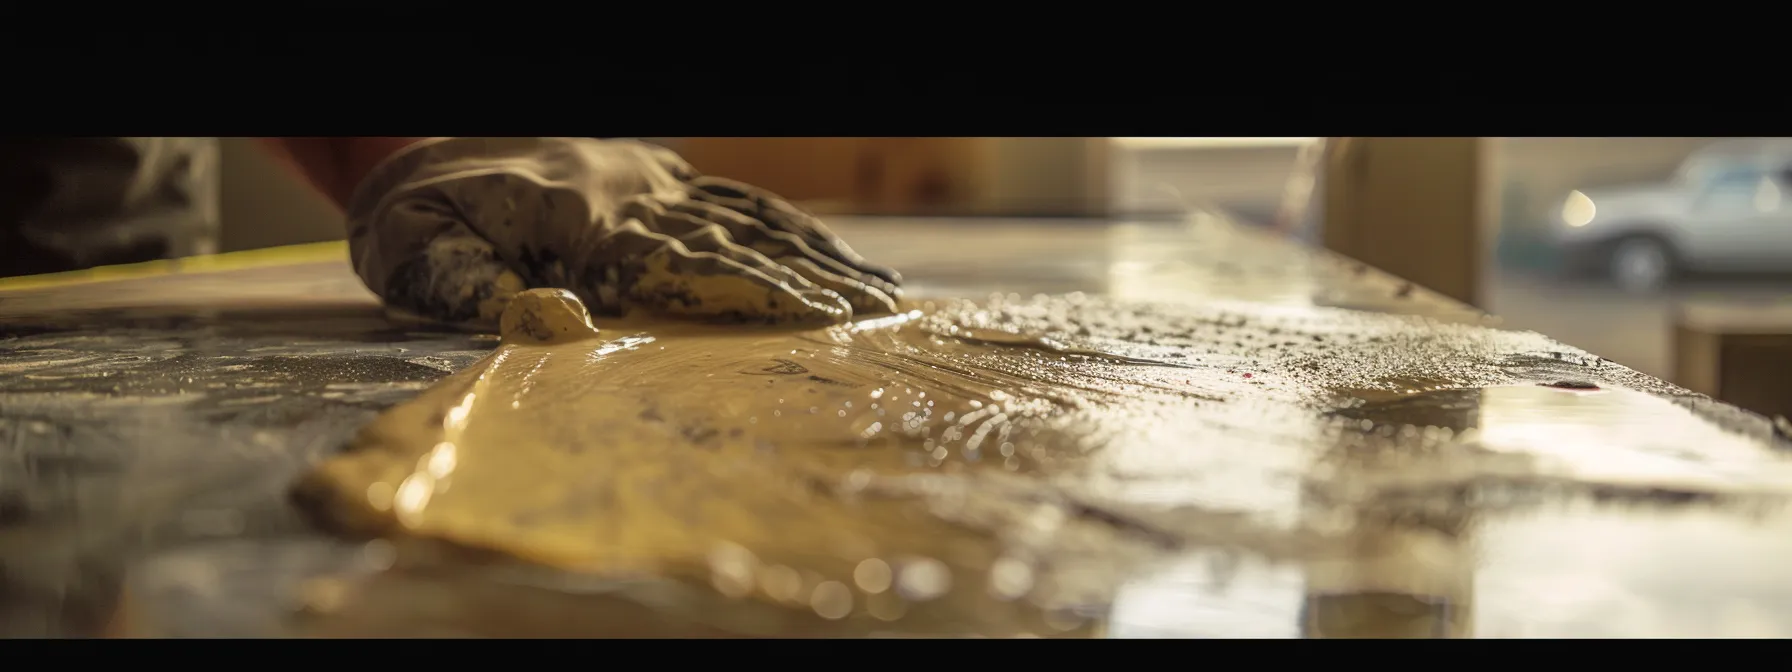
Mix and Apply the Resurfacing Compound Evenly
To begin, it’s vital to prepare your resurfacing compound correctly before application. Start by carefully measuring the components according to the manufacturer’s instructions. Whether you are resurfacing soapstone, steel, slate, or terrazzo, ensuring the right mix will significantly impact the finish‘s durability and appearance. Mix the components in a clean container, using a drill mixer for a consistent texture, which helps prevent issues like bubbling or unevenness during application.
Once you have a well-blended resurfacing compound, it’s time to apply it evenly across the countertop. Use a high-quality trowel or spreader to distribute the compound smoothly over the surface. Whether you are working with intricate slate designs or sleek steel countertops, consistently applying the compound will ensure a uniform look. Working in small sections allows you to maintain control and achieve a more polished finish. Make sure to follow the specific application techniques recommended for the material you are resurfacing to get the best results.
After applying the compound, inspect the surface for any imperfections. Depending on the material, such as terrazzo or soapstone, you may need to perform light sanding to even out the finish further. Pay attention to the edges and corners where the compound can accumulate unevenly. Taking these additional steps ensures a stunning transformation that not only enhances the beauty of your countertops but also extends their lifespan:
- Prepare your resurfacing compound with precise measurements.
- Apply the compound evenly using the right tools.
- Inspect and sand the surface for a flawless finish.
Allow the Surface to Cure Before Adding Additional Coats
Allowing the surface to cure after applying the resurfacing compound is crucial for achieving a durable finish. Curing time ensures that the materials bond effectively, which directly influences the longevity and resilience of your countertops. Skipping this step can result in peeling or lifting, forcing you to redo your project sooner than expected.
Follow the manufacturer’s guidelines regarding curing times, as they can vary based on the type of material used and environmental conditions. Creating a controlled environment, such as maintaining a consistent temperature and humidity level, can significantly enhance curing results. This attention to detail not only improves adhesion but also contributes to a smoother, more professional-looking finish.
After the initial curing period, inspect the surface for any imperfections before you apply additional coats. If you’re pleased with the look and feel, you can proceed with further applications to build up strength and durability. Remember to wait until the surface is completely cured: this will provide you with a resilient and beautiful countertop that stands the test of time.
- Ensure proper curing for durable finishes.
- Follow manufacturer guidelines for curing times.
- Inspect the surface before applying additional coats.
You’ve transformed your countertops, and they look great. Now, it’s time to seal and protect that fresh surface, ensuring it lasts for years to come.
Adding Finishing Touches: Sealing and Protecting Your Surface

Adding Finishing Touches: Sealing and Protecting Your Surface
Choosing the right sealant for your resurfaced countertop is crucial for ensuring long-lasting protection against stains and scratches. You will learn how to apply the sealant evenly for optimal results and finish with a thorough inspection to achieve a flawless look before using your kitchen or bathroom space. These steps are vital for maintaining the beauty and durability of your countertops.
Choose the Appropriate Sealant for Your Resurfaced Countertop
Choosing the right sealant for your resurfaced countertop is essential to protect it from stains and scratches. Various sealants are available, including water-based and solvent-based options, each offering different levels of durability and ease of application. Assessing your countertop‘s specific needs will help you select a sealant that aligns with your lifestyle and the amount of daily use it will see.
In many cases, a polyurethane sealant is an excellent choice for its robustness and resistance to wear. This type of sealant forms a strong, protective layer that can withstand everyday spills and heat, making it ideal for kitchen surfaces. On the other hand, if your countertops are in a bathroom setting, you might prefer a sealant designed specifically for moisture resistance, ensuring longevity and maintaining a fresh appearance in humid conditions.
Before applying any sealant, ensure your resurfaced surface is completely cured and free of dust or debris. Following the manufacturer’s instructions for application is key to achieving a smooth finish. After sealing, you can enjoy a beautiful countertop that not only enhances your kitchen or bathroom‘s aesthetic but also stands up to daily wear and tear, providing peace of mind as you use your space.
Apply Sealant Evenly to Protect Against Stains and Scratches
Applying sealant evenly is essential in protecting your resurfaced countertops from stains and scratches. When you choose the right sealant, whether it’s water-based or solvent-based, you’ll want to ensure that you spread it uniformly across the surface. This measure not only enhances the appearance of your countertops but also creates a consistent protective layer that can withstand daily use.
Take your time during the application process, as uneven distribution can lead to exposed areas that are vulnerable to damage. For instance, make use of a high-quality brush or roller to achieve an even coat. This approach will help you cover all corners and edges, ensuring that every part of the countertop has the same level of protection against spills and wear.
Once the sealant is applied, allow it to cure according to the manufacturer’s instructions before using the surface. This patience is worthwhile, as it solidifies the protection and prepares your countertops for everyday tasks. By following these steps, you will not only enhance the durability of your resurfaced countertops but also maintain their visual appeal for years to come.
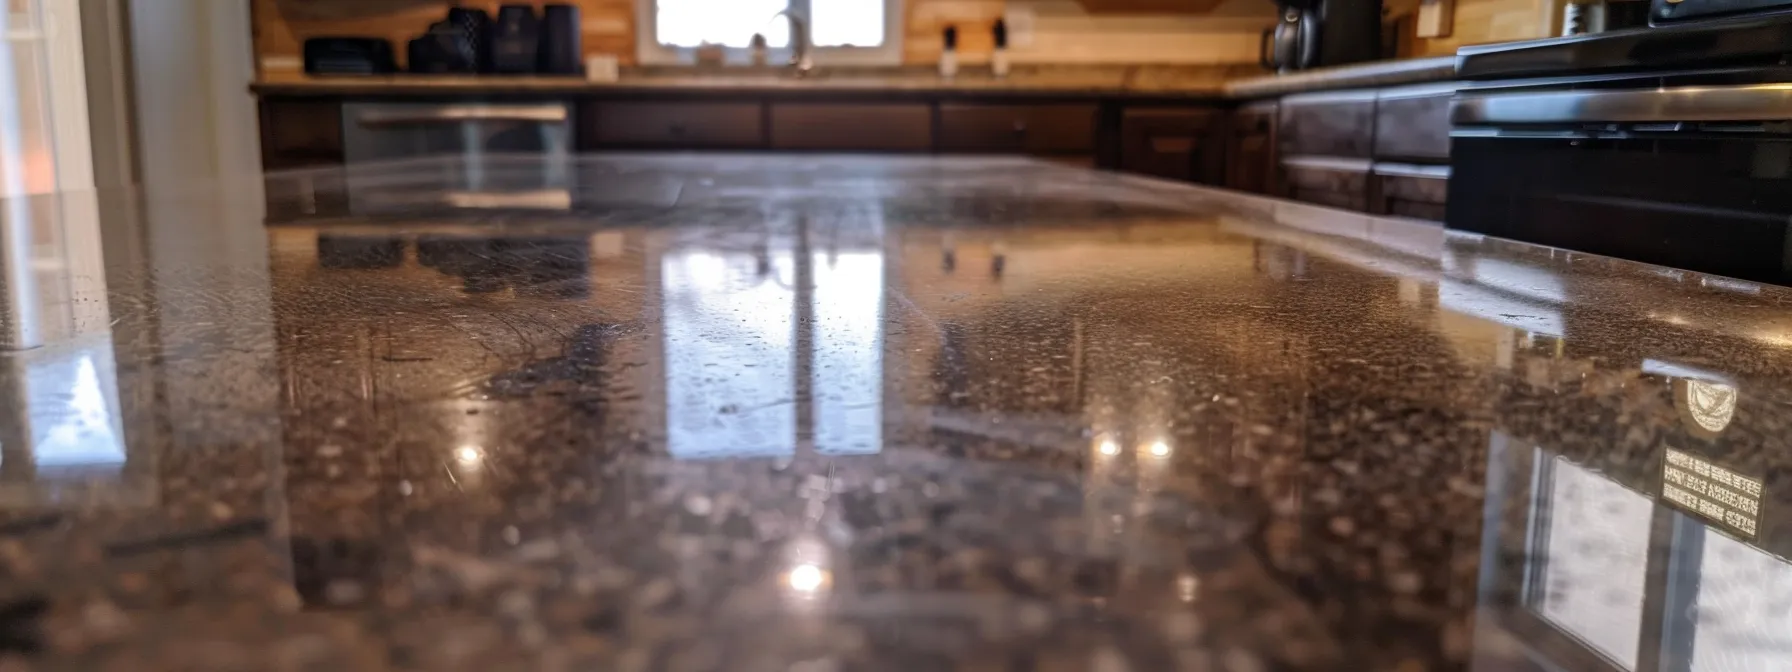
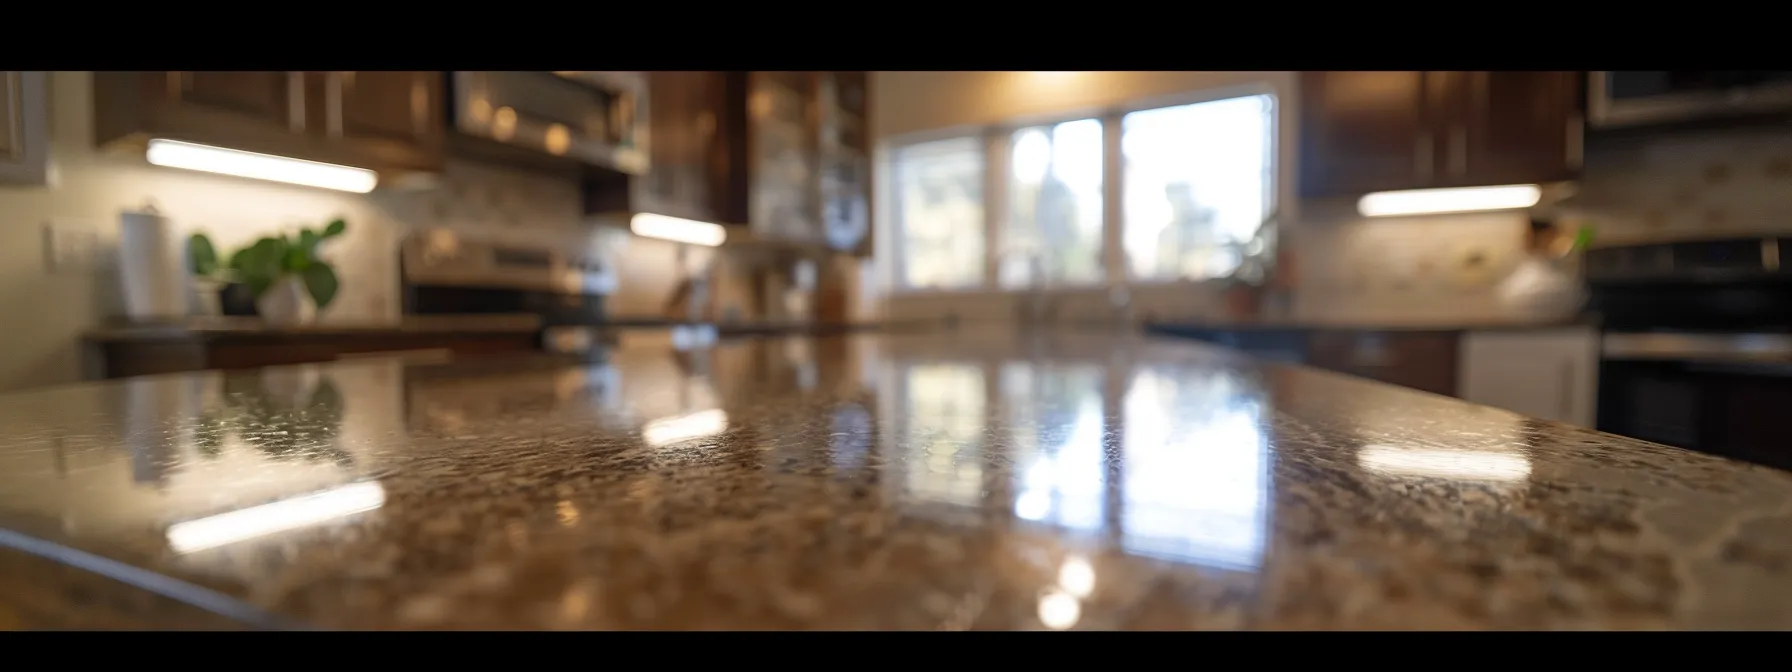
Final Inspection: Ensure a Flawless Finish Before Use
Before you begin using your resurfaced countertops, conduct a thorough final inspection to ensure a flawless finish. Carefully check for any inconsistencies in the sealant application, such as uneven coverage or bubbles. This step is essential for maintaining both the aesthetics and durability of your countertops, ensuring they can withstand daily use without damage.
Take the time to look closely at the edges and corners, as these areas often need special attention. If you notice any imperfections, address them immediately to prevent larger issues down the line. A seamless, polished appearance not only enhances the beauty of your kitchen or bathroom but also reflects the quality of the resurfacing work completed.
Finally, test the surface by gently running your hand across it, examining for any rough patches or missed spots. This tactile check can help you gauge whether the surface is smooth and ready for use. By ensuring a flawless finish before you use your resurfaced countertops, you can have peace of mind knowing your investment is protected and will last for years to come.
Now that your surfaces are sealed and ready, it’s time to think about care. Simple maintenance will keep your countertops looking new and lasting longer.
Caring for Your Resurfaced Countertops: Maintenance Tips
Caring for Your Resurfaced Countertops: Maintenance Tips
To keep your resurfaced countertops looking their best and to extend their lifespan, it’s essential to employ proper cleaning techniques and avoid harsh chemicals that can damage the surface. Additionally, scheduling regular maintenance checks will help identify any issues early, ensuring longevity. These maintenance tips provide practical insights that will aid in maintaining the beauty and durability of your transformed countertops.
Use Proper Cleaning Techniques to Extend Surface Life
To extend the life of your resurfaced countertops, start by using gentle cleaning techniques that preserve their condition. Opt for a mild soap mixed with warm water to wipe down surfaces regularly. Avoid harsh chemicals or abrasive scrubbers, as they can damage the new finish and reduce the lifespan of your countertops.
When cleaning, use a soft cloth or a microfiber towel to prevent scratches while effectively removing dirt and grime. Focus on high-use areas, such as around sinks and cooking spaces, to maintain their appearance. Regular attention to these areas will help keep them looking fresh and vibrant over time.
Additionally, always dry your countertops thoroughly after cleaning to prevent moisture buildup, which can lead to damage. Implementing these proper cleaning techniques ensures that your resurfaced countertops not only remain aesthetically pleasing but also withstand daily wear. By committing to a regular cleaning routine, you enhance the longevity of your investment while making your kitchen or bathroom a more enjoyable space.
Avoid Harsh Chemicals That Can Damage the Resurfaced Area
To protect your resurfaced countertops, it’s vital to avoid harsh chemicals that can erode the new finish. Strong cleaning agents, including bleach and ammonia, can break down the protective layers applied during resurfacing, leading to discoloration or peeling. By choosing gentle, pH-balanced cleaners, you maintain the integrity of the surface for years.
Regular maintenance is essential, but using the wrong products can detract from your efforts. For instance, abrasive scrubbing pads may scratch the surface, diminishing its polished look. Stick to soft cloths and mild detergents, ensuring your countertops remain attractive and functional without any unnecessary damage.
Awareness of the cleaning supplies you use can save you from costly repairs or premature resurfacing. Review labels on your cleaning products to ensure they are safe for use on your specific countertop material. By taking these precautions, you’ll keep your countertops looking vibrant and well-maintained for an extended period, enhancing your kitchen or bathroom’s overall aesthetic.
Schedule Regular Maintenance Checks for Longevity
Scheduling regular maintenance checks for your resurfaced countertops is vital to ensure their longevity and preserve your investment. By routinely inspecting your surfaces, you can identify minor issues, such as scratches or surface dullness, before they become more significant problems. This proactive approach helps maintain the quality and appearance of your countertops, letting you enjoy a beautiful space for years to come.
During these maintenance checks, pay close attention to high-traffic areas that may experience more wear, such as around sinks and cooking surfaces. Assessing these areas allows you to implement timely care, like reapplying sealant or addressing any surface imperfections. By keeping a schedule for these checks, you not only enhance the countertop‘s durability but also ensure a consistently appealing look that complements your kitchen or bathroom.
Incorporating easy maintenance habits into your routine will further extend the life of your resurfaced countertops. Make it a practice to wipe down surfaces regularly and use gentle cleaning methods to avoid damaging the finish. Taking these small yet effective steps can help you enjoy the transformed beauty of your countertops while ensuring they remain functional and attractive for the long term.
Conclusion
Transforming countertops through resurfacing offers an efficient and cost-effective solution to upgrade your kitchen or bathroom without the hassle of full replacements. Understanding the right materials, preparation steps, and maintenance techniques is crucial for achieving durable and visually appealing results. By choosing resurfacing, you not only extend the lifespan of your surfaces but also enhance your living space’s overall aesthetic. Embrace resurfacing as a smart investment that provides lasting beauty and functionality to your countertops.